Introduction to GNS3
Introduction
In project will give you a brief introduction to GNS3 as a Quick Start Guide only. I will not cover everything you need to know about GNS3 here. For more information and detail, please refer to the official website at http://www.gns3.net/. As you are students in IT field, GNS3 may already being familiar to you.
GNS3 is an open source, free program that can be used to to simulate actual Cisco IOS and even Juniper JunOS, too. GNS3 is a graphical network simulator that allows emulation of complex networks. It allows you to run a Cisco IOS in a virtual environment on your computer running Windows or Linux OS. Emulation is possible based on Cisco router platforms as well as PIX firewalls. I found that GNS3 is a great tool for people who preparing for Cisco certifications exam. It is really a wonderful tool for learning and testing Cisco devices in a lab environment. However, there are some advantage and disadvantage of GNS3.
Advantages of GNS3
- GNS3 is an open source, free program.
- Can simulate complex network.
- Simulated topology can be connected to real world.
- You can take packet capture between devices on your lab.
- Other devices and vendors are also supported.
Disadvantage of GNS3
- It can not take the place of a real router.
- Slow throughput compare to real equipments.
- The switching functionality is very limited.
- Only a few older Cisco router platforms supported.
- High CPU utilization.
Quick Start Guide
I will show you how to download, install, building a simple network topology, and configure the network using GNS3. There are Windows version and Linux version of GNS3 but I will not cover the Linux version in here.
Downloading GNS3
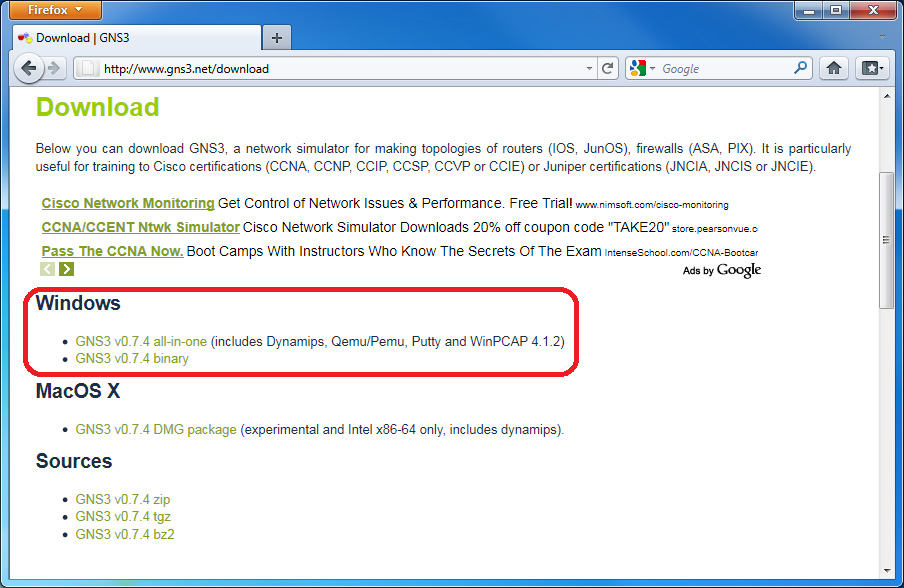
When you download GNS3, most of the time you will need to download the all-in-one package. The all-in-one package contains all the programs needed to make GNS3 work correctly. These programs are called dependencies, and they are required as part GNS3. These dependencies are WinPCAP, Dynamips, Qemu/Pemu, Putty, and Pemuwrapper.
- To download GNS3, go to http://www.gns3.net/download or you may simply click here to download the all in one package.
Installing GNS3
Once you have downloaded the package, just double click it and follow the on screen installation. You must agree to the term of each program in order to install it.
Configure GNS3 Environment
Before we define the location for a Cisco ISO image, we must have a Cisco ISO of the supported router platforms. Note that not every Cisco ISO images are supported in GNS3. Only certain IOS images of older Cisco router platforms are supported. Current platforms supported router platforms are: Cisco 1700, 2600, 2600mx, 2691, 3600, 3700, and 7200 series.
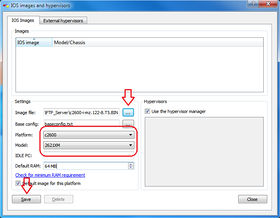
In this example, I will use the IOS image from my Cisco 2621xm router. The IOS I am using here is the c2600-i-mz.122-8.T5.BIN. Due to licensing restrictions, the IOS image is not provided, and you must have your own Cisco IOS to use with GNS3.
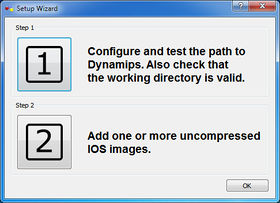
Once the installation is completed, you need to define the path to Dynamips executable and IOS location. Follow the steps on the "Setup Wizard" windows to complete the requirements at the first time you lunch GNS3.
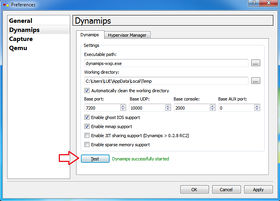
- Step 1: On the Preferences windows, click on Dynamips. You can change the working directory if you want to and then click on the "Test" button. It should says that "Dynamips successfully started" and then click Apply and then OK buttons. This test will make sure that everything working correctly.
- Step 2: On the IOS image and hypervisors windows, add the IOS image you have into the windows and close the IOS image windows and the Setup Wizard windows. You can add more than one image for use in GNS3.
Building a Network topology
Once want the IOS image is defined, you are ready to build your network topology, power on your devices, and configure the network. Note that you can use only the router platforms corresponding to the images you have defined earlier. You must define all the images corresponding to the platform routers that you want to use in your lab. In this example I have defined the image for the Cisco 2600 series router, so I will be able to use the 2600 router only.
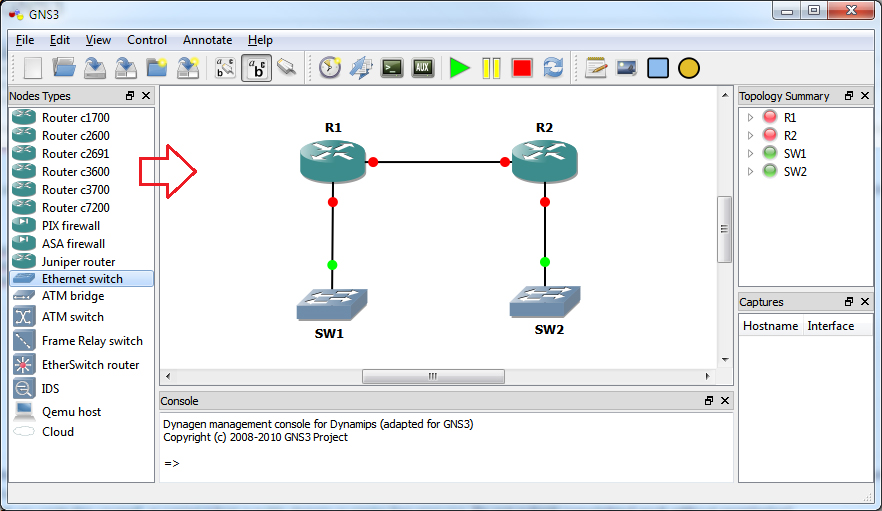
- To create a network diagram, just click on the device icon you needed from the left pane and drag and drop it into the work area or work space which is the middle top area. In this example, I am using the 2600 platform so I can only use the Router C2600. In this example diagram, I placed two routers and two switches on the work space.
- To cable the network, click the Add a link button on the toolbar at the top and choose manual from the drop-down menu. Your mouse cursor will change to + sign. Click on the router or device you want to connect from and select the interface you want to connect. Click on the destination router or device you want to connect to and then select the interface you want to connect to.
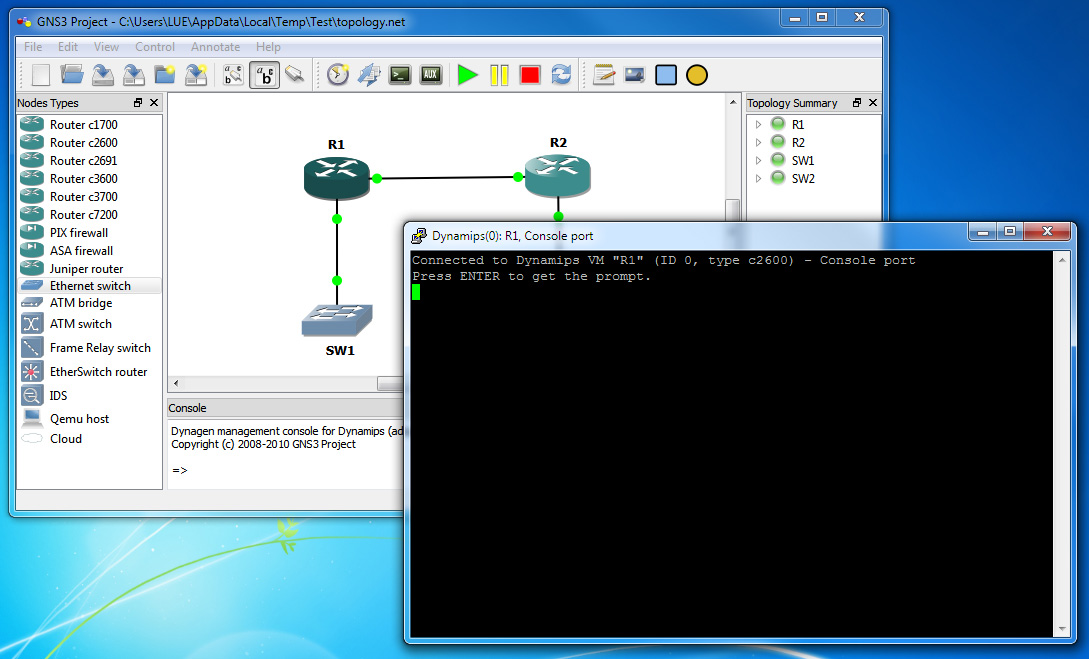
- To configure the network, first you need to power on the devices. Right-click on each each device and choose Start. Then right-click the device you want to configure and choose Console. A telnet console should opens up. Note that some devices such as the Ethernet switch are not configurable through telnet console.
Now you can configure the router as you would configure a real Cisco router. Because GNS3 uses actual Cisco IOS image, you will see exactly what the IOS produces, and you will have access to any command or parameter supported by the IOS.
Lastly, I hope you found this page useful, especially people who are students like me. If you spend sometime playing around with this program and be familiar with it, it will be a good tool for you to build your own CCNA, CCNP and even CCIE labs without spending hundred of thousand dollars on equipments.
