Installing MyBB Forum
MyBB is a free and easy to use forum software. This install guide has been used and tested on Ubuntu 9.10 with Apache Version 2.2.12, MySQL Version 5.1.37, and PHP Version 5.2.10-2. I decided to write this guide after having issues with installing MyBB for the network simulation project. Hopefully this can help future Linux students if they are required to use this software as well.
Before You Begin Installation
Before you begin you will need to have apache2, MySQL, and php5 installed on your Machine. You will also need to create a database for MyBB in MySQL. You will need to download MyBB's forum software from www.mybb.com/downloads
Step 1
Locate and extract the contents of the software into a directory of your choosing. In my case I extracted it to the directory I downloaded it to. I then created a directory in my web servers directory called forum, where I would move the Uploads directory to. To do this you will need to use the commands I used in the following image.
From here on, your working directory in a terminal window will be the /var/www/forum/ directory.
Step 2
You now need to move the files that are located in the Upload directory, to the /var/www/forum/ directory. To do this you will use the command.
sudo mv Upload/* .
Then you will remove the Upload directory as its not needed anymore
sudo rm -R Upload
Step 3
Now that you have the files and directories where they need to be, you need to edit the permissions for them. MyBB suggests setting certain files and directories with different permissions for security purposes. For this you will enter the following lines in you terminal.
    sudo chmod -R 775 /var/www/forum/*
    sudo chmod 666 ./inc/config.default.php ./inc/settings.php ./inc/languages/english/* ./inc/languages/english/admin/*
    sudo chmod 777 ./cache ./cache/themes/ ./uploads ./uploads/avatars ./admin/backups ./inc/languages
    sudo chmod 775 ./inc/languages/english/admin
Step 4
You now need to change the config.default.php file to config.php
sudo mv ./inc/config.default.php ./inc/config.php
Step 5
This is one of the final steps (if everything has gone well so far) before you will begin the installation through your browser. You now need to remove the "lock" file from the install directory, so that when you load your forum in the browser it will initialize the installation.
sudo rm ./install/lock
You are now ready to open your web browser and continue installing there.
Step 6
In your web browser, navigate to http://localhost/forum/install Unfortunately, for me navigating here both times I installed MyBB would end up with me trying to download the php file instead of opening it. After much researching I found some fixes that got it working for me. You will need to download 3 php dependencies through aptitude, as listed below.
sudo apt-get install php5-mysql php5-cgi php5-cli
When the install completes, browsing to the localhost may still not work, if not you may need to restart the apache service.
sudo /etc/init.d/apache2 restart
You should now be able to browse successfully to the start of your MyBB installation.
Step 7
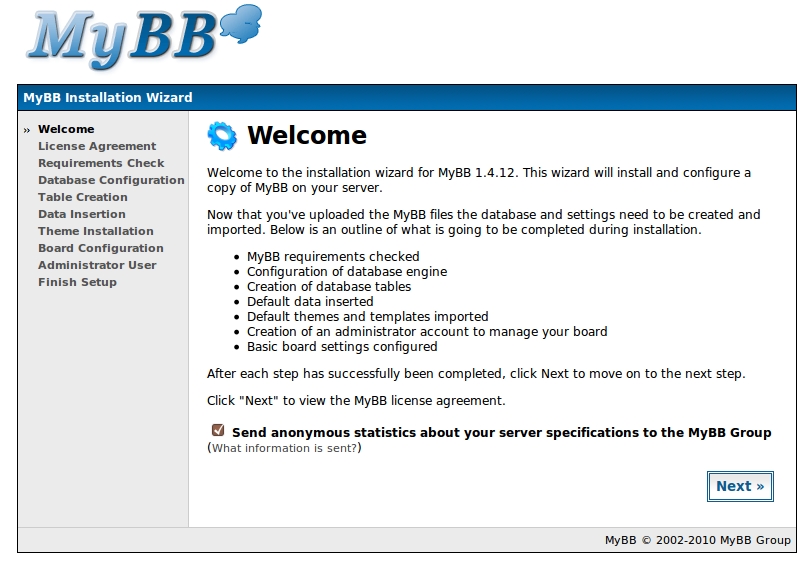
A MyBB Welcome page should now be staring back at you.
Click Next.
Step 8
Read through the license agreement, and if you agree click Next.
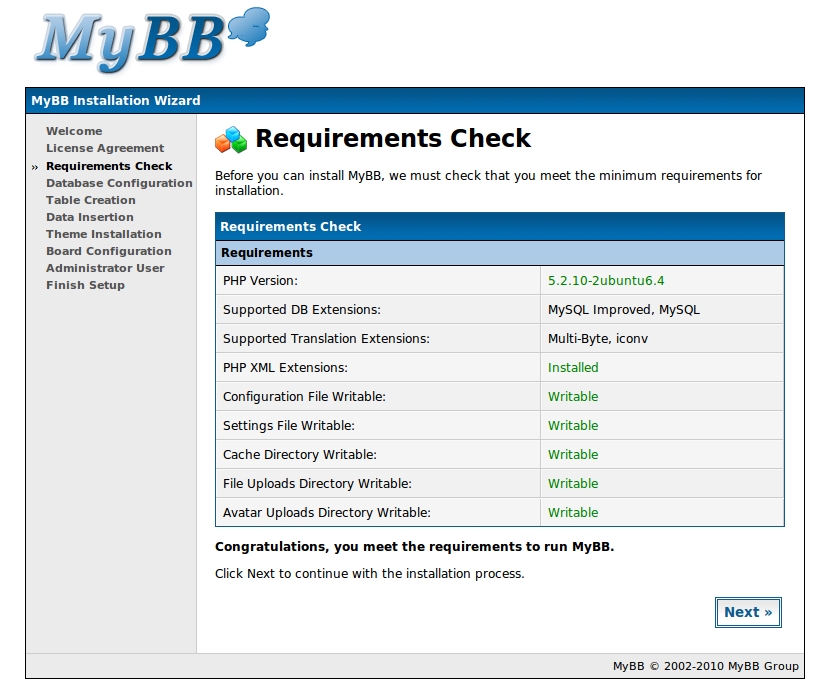
You can now review the requirements check to see if there are any issues
Click Next.
Step 9
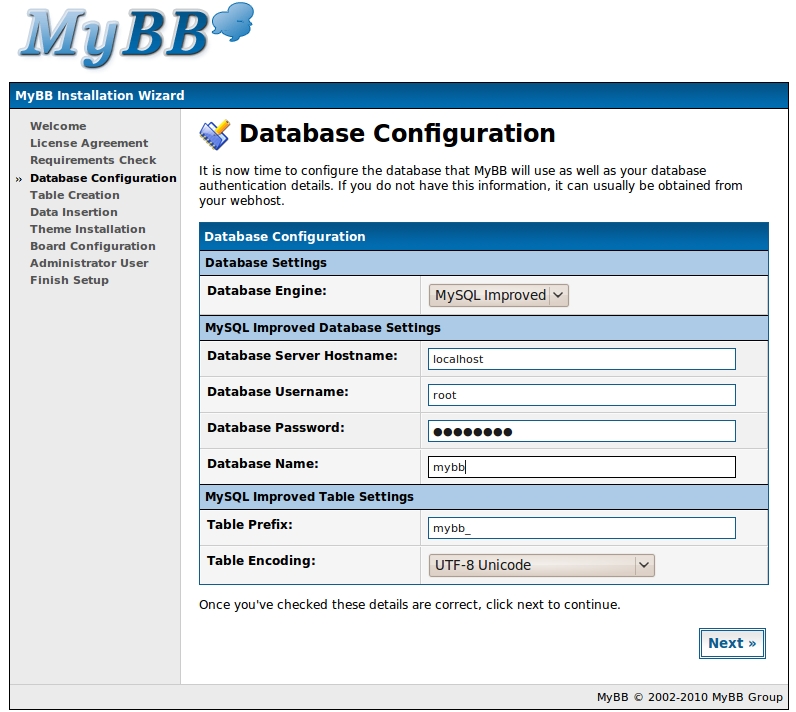
You should now be at the Database Configuration page. If you previously created a database in MySQL for your MyBB installation, this is where you would now enter your info. In my example I had already created a database called mybb in MySQL and it was on the localhost.
Click Next when you are done entering your information.
Step 10
The next 2 pages will be your Table creating, and Table Population, you can click Next through both of these.
Step 11
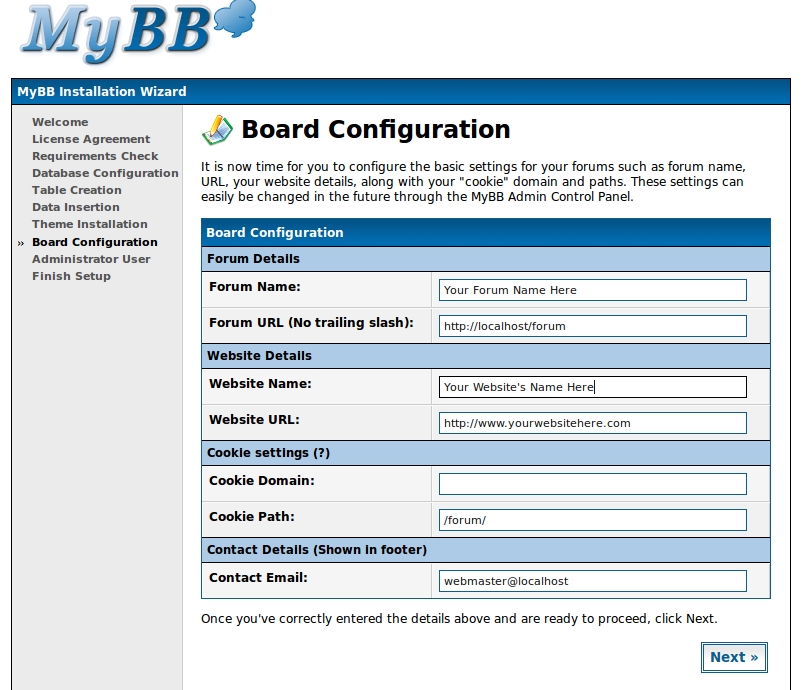
You should now be at the Board Configuration page. Here you can enter your forum name, your URL for your forum, the website name, email, etc.
Click Next when you are done entering your information.
Step 12
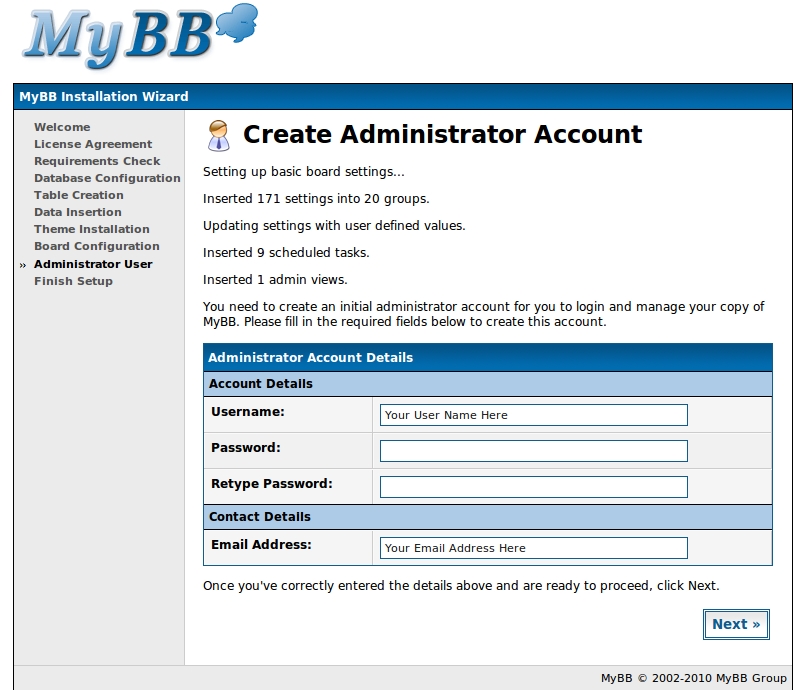
This next page should be where you create your Administrator account.
Create and account that you will remember because this will be the first account you log in with, to configure your server, create accounts and anything else you choose to do. I do not know if there is a way to recover this account if you lose your information, aside from reinstalling mybb. Click Next when finished.
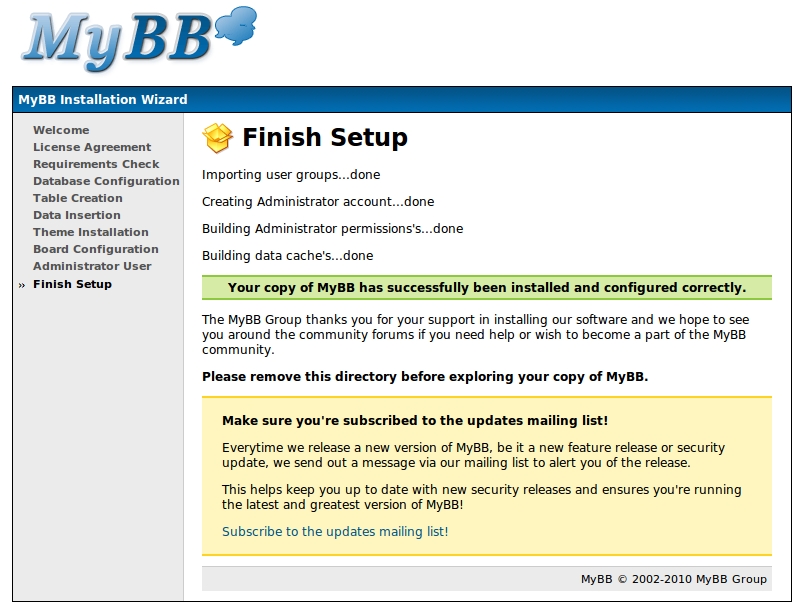
Congratulations you now have the forum software installed!
Completing Your Installation
Before your browser will actually access your newly installed forum software, you will need to remove the install directory. You can do that with the following command.
sudo rm -R ./install
Accessing Your Page
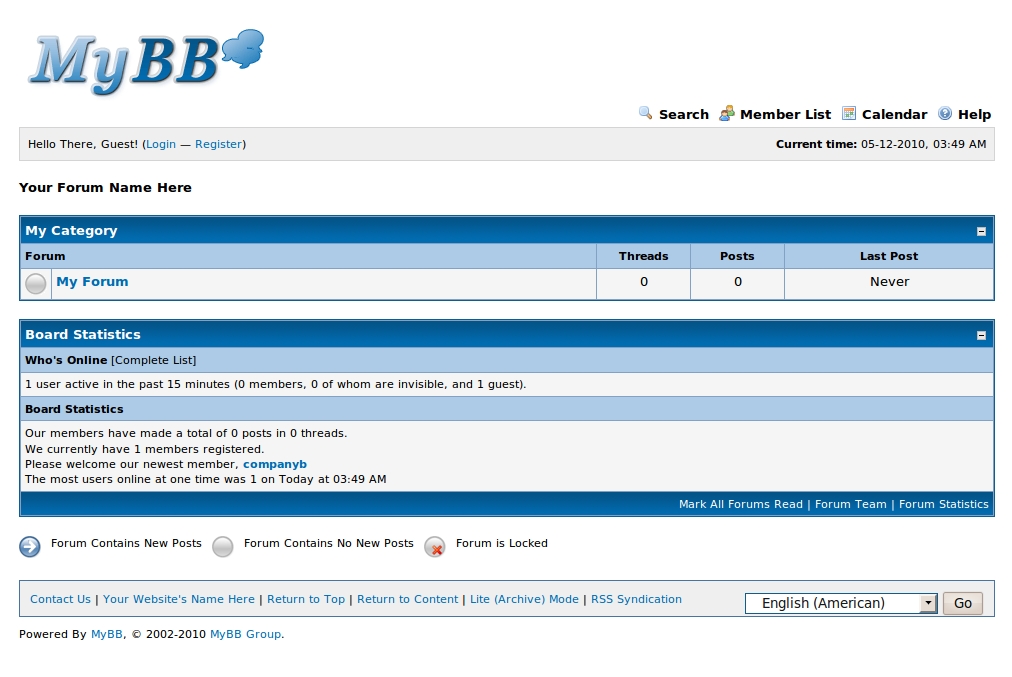
You may now go to you browser and type in the address you assigned your forum. If it works you should see something along the lines of:
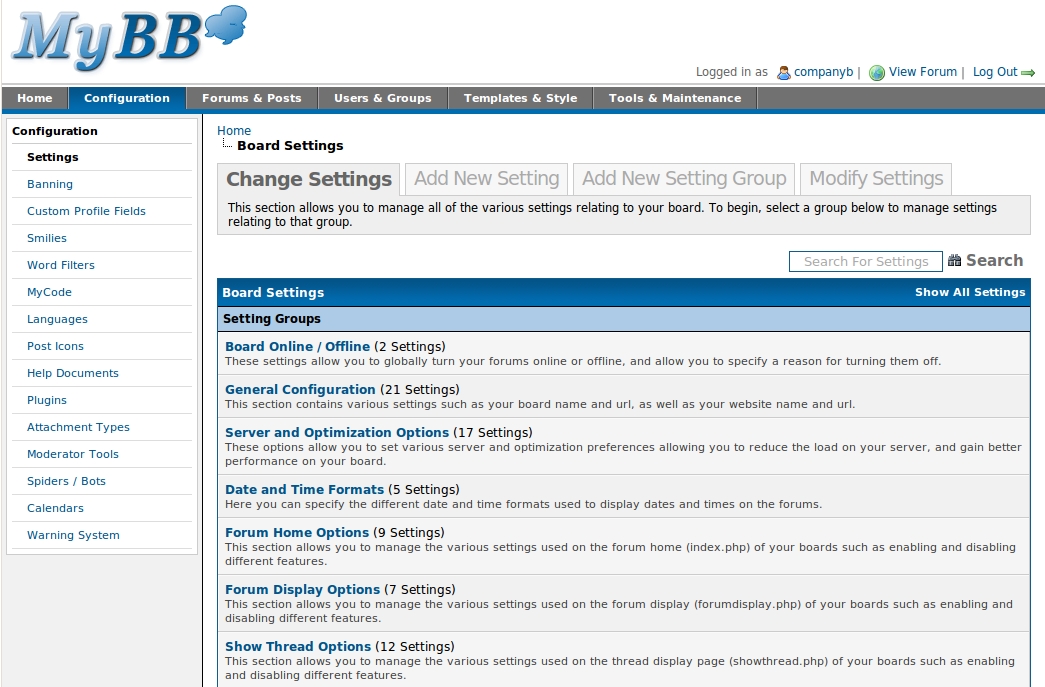
From here you can login with the administrator account you created and browse around. You can also configure your forum further. Click the admin cp link around the middle/top section of the page and you will be brought to another login screen. Use your administrator account to login again and you will be brought to a new page to configure your forum as you see fit.
You now have your own forum!


