How to Install a Printer
How to Install a Local Printer
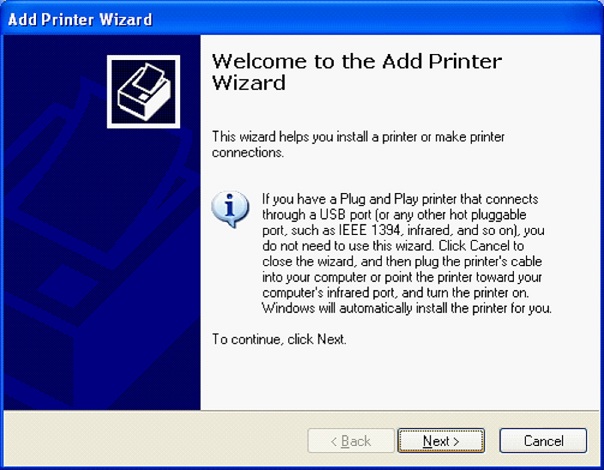
Click Start >> Control Panel >> Printers and other Hardware >> Printers & Faxes >> double click Add Printer to start the Add Printer Wizard. If your printer is plug and play you don’t need to do this step. You just need to attach the printer to your computer and turn it on. Windows will automatically detect and install the printer or ask you to locate the driver.
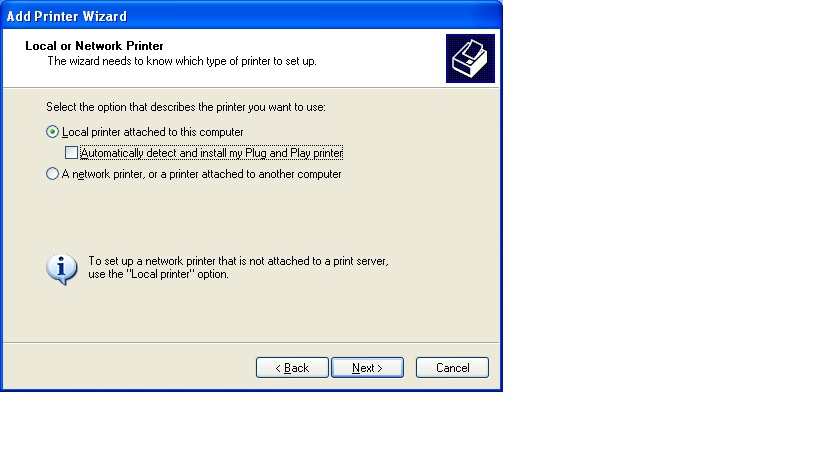
Click Local Printer and no checkmark on Automatically detect and install.
Click Next.
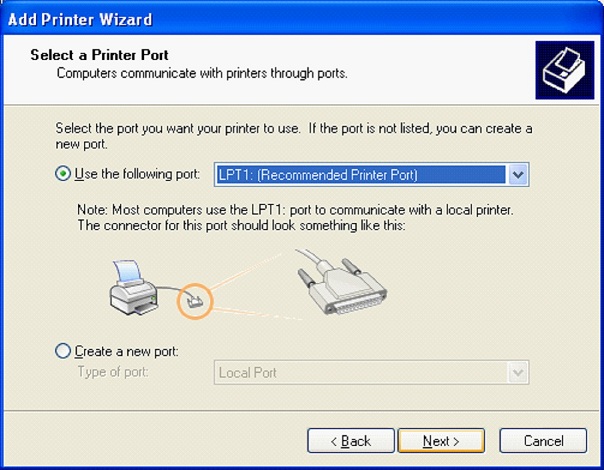
Select the Port your printer attached to.
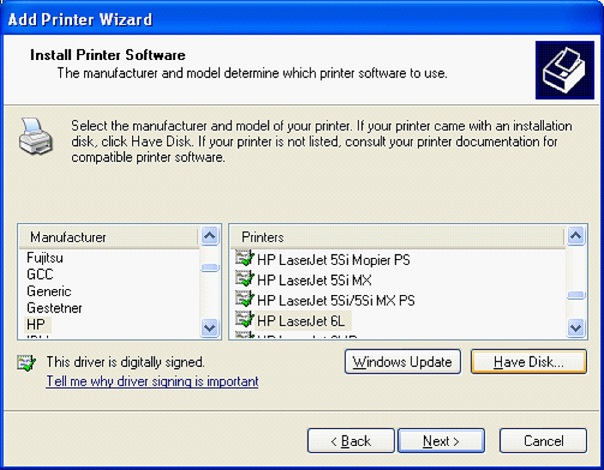
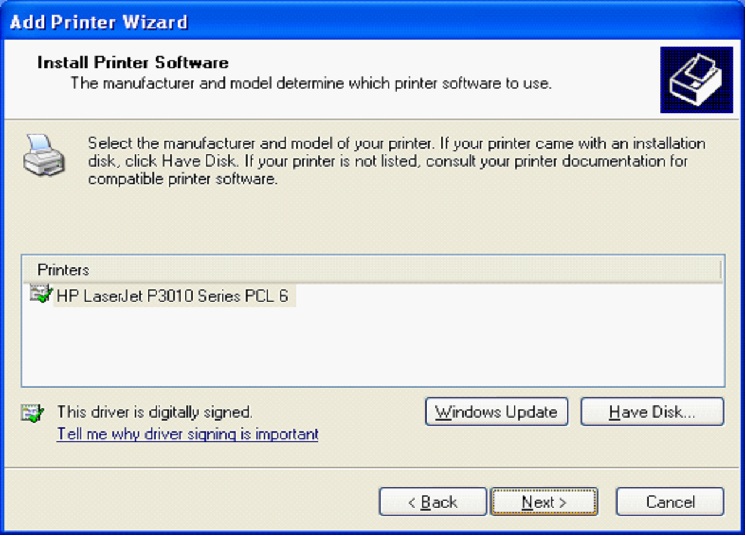
If the printer is in the list select your printer manufacturer and printer model here.
If you have the driver on disk or different location click Have Disk and browse and locate the driver.
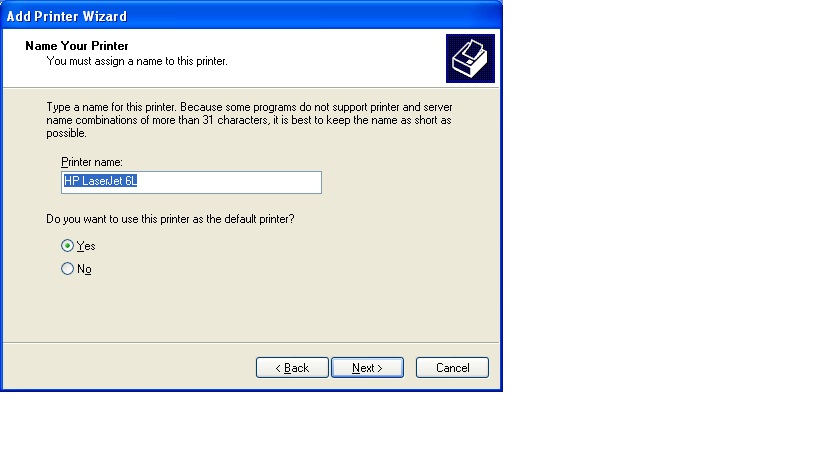
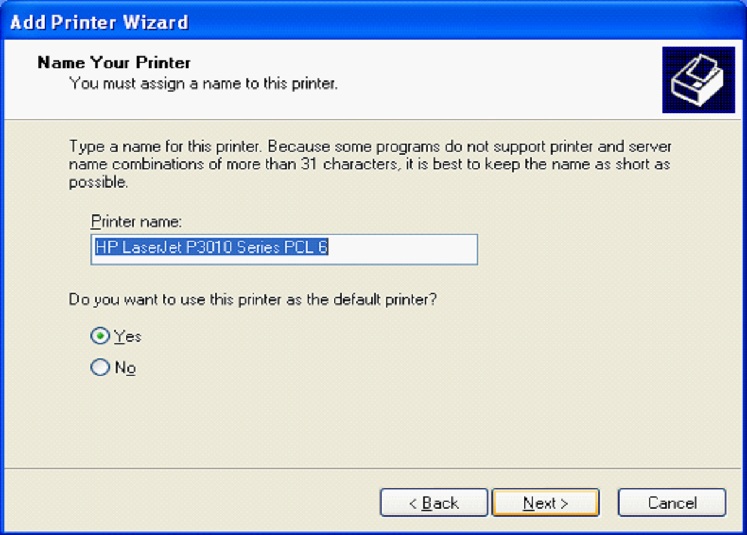
Name your Printer- this is a name you will use to select it.
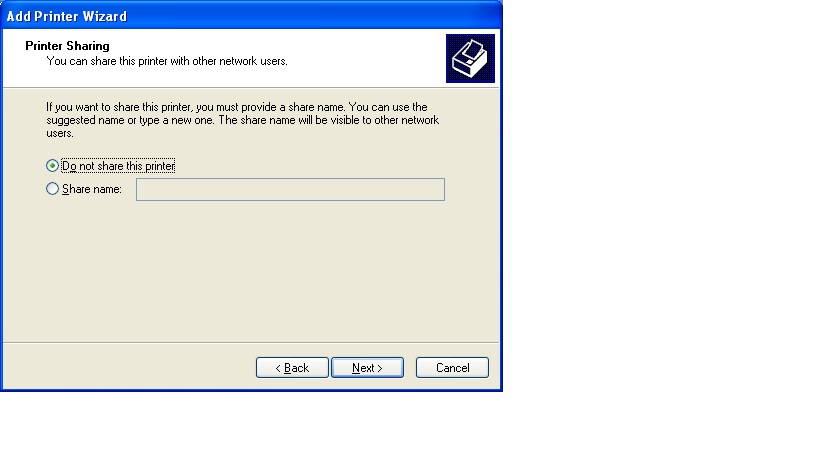
Printer sharing - Click do not share this printer.
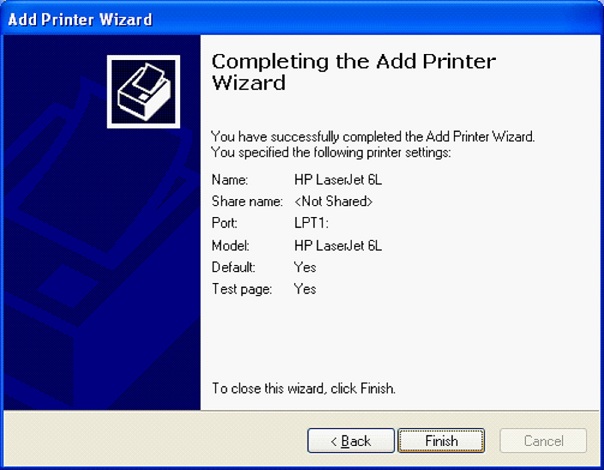
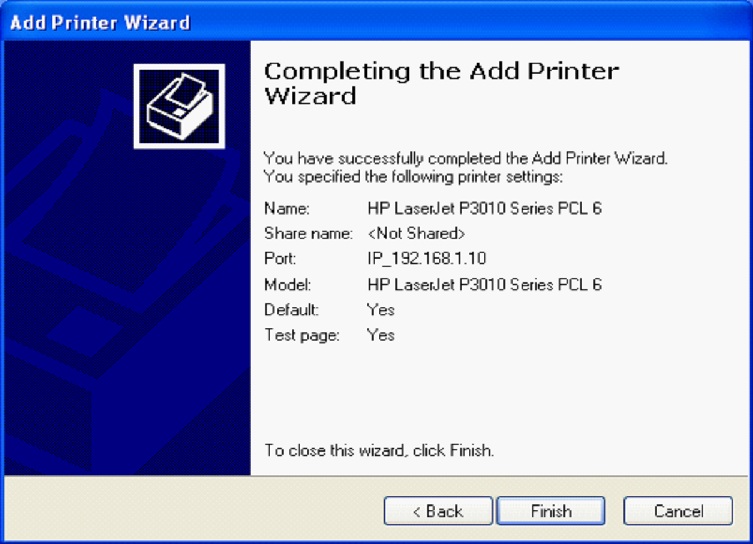
Completing the Add Print wizard - Review your choices and click back if you need to make some changes. Then Click Finish.
How to Setup a Printer for Sharing
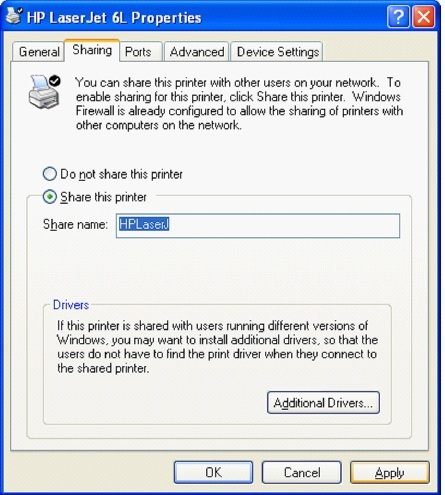
On the computer that is physically connected to the printer to be shared: Start >> Control Panel >> Printers and other Hardware >> Printers & Faxes >> Right-click the printer icon >> choose Sharing >> Click Share this printer and enter Share name and then OK.
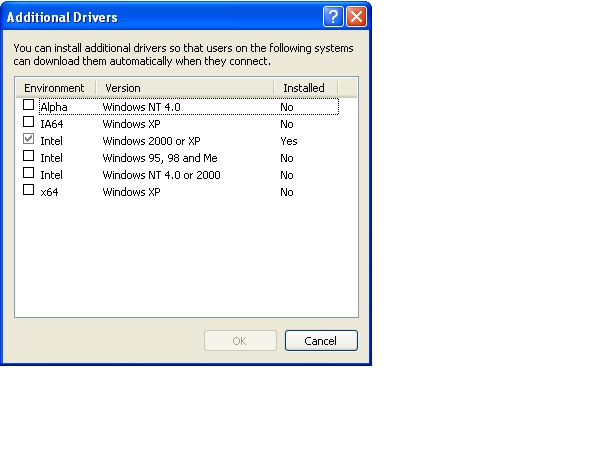
If you are sharing the printer with users running different versions of Windows. Click Additional Drivers and Install additional drivers.
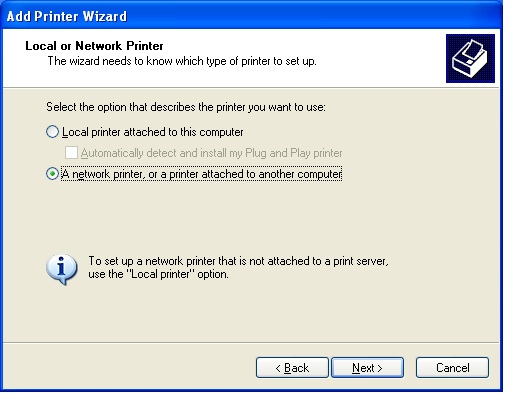
On computers not physically attached to shared printer: Click Start >> Control Panel >> Printers and other Hardware >> Printers & Faxes >> double click Add Printer. Select Network Printer.
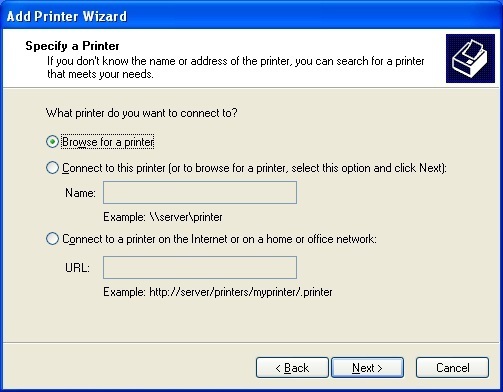
You can connect to Network Printer three ways here using Browse for a printer, Name or URL
Double-click the icon for the printer you want to install. Once the printer queue is displayed, the printer has been installed. After you have set up a network printer, you can use it as if it were attached to your computer.
How to Install a Network Printer
Click Start >> Control Panel >> Printers and other Hardware >> Printers & Faxes >> double click Add Printer to start the Add Printer Wizard.
Click Local Printer and no checkmark on Automatically detect and install. Click Next.
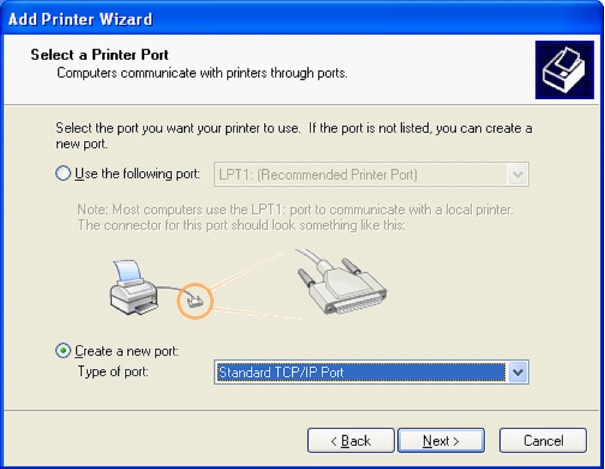
Click Create a new port and choose Standard TCP/IP Port.
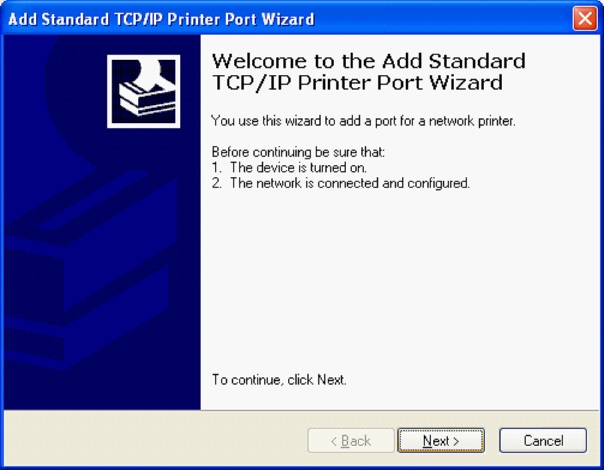
Click Next on Welcome to the Add Standard TCP/IP Printer Port Wizard.
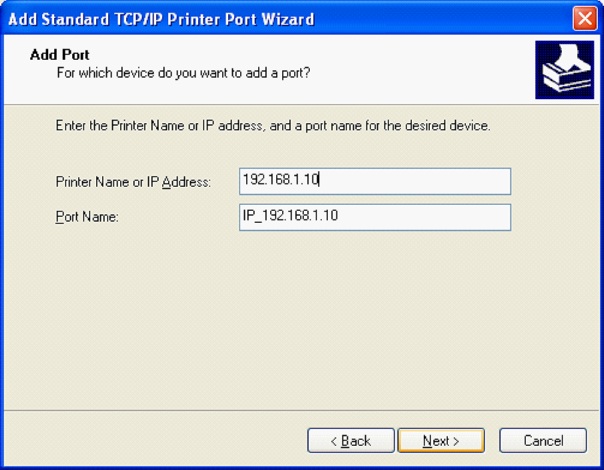
Enter IP address assigned to the Printer.
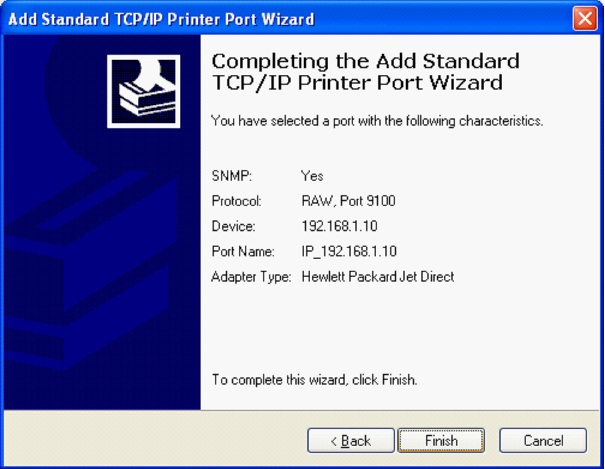
Revise your selection and Click Finish.
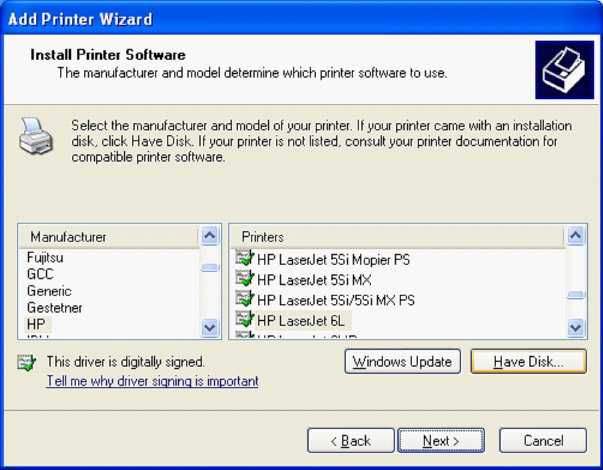
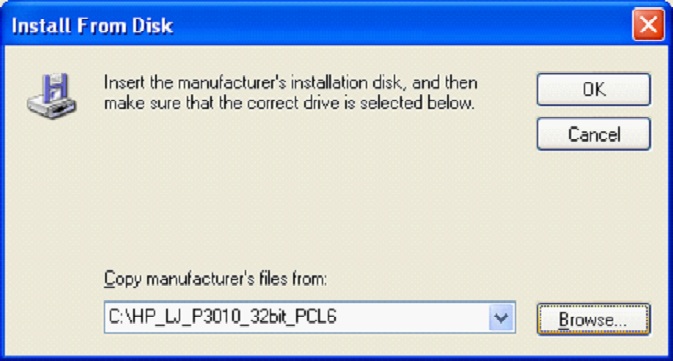
Click Have Disk to locate the printer driver.
Once you Browse and select the correct drive. Click OK.
Click Next at Install Printer Software.
Name your printer and Click Next.
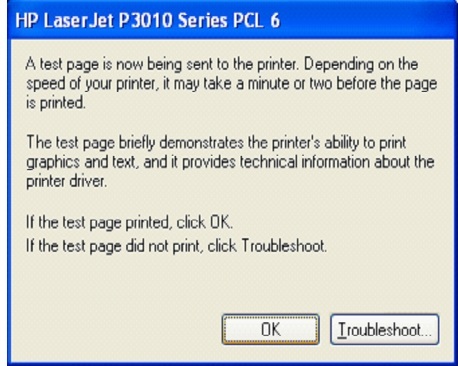
You have successfully completed adding a Network Printer. Click next to Finish and Print test page.
