Lab 11 mnjk: Difference between revisions
NateHaleen (talk | contribs) |
NateHaleen (talk | contribs) |
||
| Line 199: | Line 199: | ||
</ol> | </ol> | ||
=Web App= | |||
You can check your progress on any of the labs in the ITC-2480 course from a webapp from this link: <br> | You can check your progress on any of the labs in the ITC-2480 course from a webapp from this link: <br> | ||
[http://webcheck.itc2480.campus.ihitc.net webcheck.itc2480.campus.ihitc.net]<br> | [http://webcheck.itc2480.campus.ihitc.net webcheck.itc2480.campus.ihitc.net]<br> | ||
You must be logged into the campus VPN to use this application. | You must be logged into the campus VPN to use this application. | ||
Latest revision as of 16:10, 25 April 2021
Introduction
This lab assumes you know how to navigate through directories and create new files.
In this lab you will perform the following tasks:
- Explore /proc, a directory containing the kernel runtime configuration and system information
- Explore /dev, a directory containing each device and interface attached to the system
- Add a second hard drive to your Linux system
- Mount a partition on your second drive
- Check disk and file usage on your Linux system to verify the partitions and see how much disk space is being used.
You will be introduced to the following commands:
Lab Procedure
Prerequisites
- You need to be able to open an SSH console to your Linux system using the PuTTY software.
- You should login with your standard user account.
Exploring /proc
Video Tutorial - Exploring /proc
- Enter the /proc directory on your VM.
- /proc is a very special folder is its a virtual filesystem. Its sometimes referred to as a process information pseudo-filesystem. The reason for calling it a pseudo-file system is that all of the "files" in /proc are not really files at all, but kernel runtime configuration and system information.
- Use cat cpuinfo to view the contents of the /proc/cpuinfo "file".
- Notice how the output tells your information about the CPU that is running the VM. This isn't actually a file at all you are essentially asking the kernel to provide information about the CPU it's running on which it gathers in realtime. /proc is used not only to get hardware and kernel information, but it can also be used to tweak kernel settings while the system is running in a way similar to some Windows Registry edits. Look back on Lab 10 and notice how we echoed a "1" to a "file" in /proc to enable packet forwarding without rebooting the system.
- There are a few files in /proc you should get to know:
- /proc/cpuinfo = Shows you the CPU info for your machine.
- /proc/modules = Shows you the currently enabled kernel modules that are active on your kernel.
- /proc/cmdline = Shows you the boot arguments used to boot your kernel.
- /proc/version = Shows you your kernel version.
- It is important to note that some of these files have commands tied to them that can give you similar information but often formatted in a different way. For example:
- lsmod = /proc/modules
- mount = /proc/mounts
- uname -a = /proc/version
- Normally it is best to use the command version to lookup the information as it is normally formatted to be easier to read and understand.
- Explore all of these files and commands and find the differences between the command line and file output versions as well as what types of information are available.
Exploring /dev
Video Tutorial - Exploring /dev
- Change directories to /dev and list the "files".
- Notice there are A LOT, but don't worry, there is organization in the mess. Each "file", like in /proc, is actually a device or interface on the machine so /dev is actually another pseudo-filesystem. Here is a list of the most common interfaces you will see:
- /dev/sd* = SATA Hard Drives
- /dev/hd* = IDE Hard Drives
- /dev/vd* = VirtIO (Virtualized) Hard Drives
- /dev/ttyS* = Serial Interfaces on your PC.
- /dev/tty* = Virtual Consoles, similar to the one you are using to enter commands. Mostly used by background programs or services.
- lsusb = List USB Devices (Bus, Device, ID, and advertised vendor)
- NOTE: Many virtual machines do not include a virtual USB controller which means the USB drivers and software including lsusb are not installed.
- lspci = List PCI Devices (Bus, Type, Advertised Name, Revision)
- dmesg = Display or Driver Message. This shows kernel messages that are normally linked to adding, or removing devices.
Partitioning a Second Disk
Video Tutorial - Partitioning A Second Disk
As you may have noticed when exploring /dev, our VM setup uses sd devices for hard drives. Drives are identified by a letter such as sda, sdb, sdc, etc. for the first, second, and third SATA drives on a system (including HDDs, CD/DVDs, SSDs, etc.). Each partition on the drive is then given a number starting with 0 for the first partition. So the first partition on the first disk, the full identifier for the partition would be /dev/sda0. You may also have noticed there is an sdb that currently has no partitions. We are going to format this drive into 2 partitions, format them, and then setup automatic mounting of the partitions.
- To start, run the following as root:
cfdisk /dev/sdb - cfdisk is a graphical version of fdisk, which is a tool used to setup disk partitioning. Note that fdisk or any other partitioning software only sets up the MBR, and does not actually format the drive even though you can set a partition type identifier such as fat32, Linux, etc. Also notice how we tell cfdisk what drive we want to edit the partition on by appending the drive device "file" to the end of the command.
- Click for Larger Image
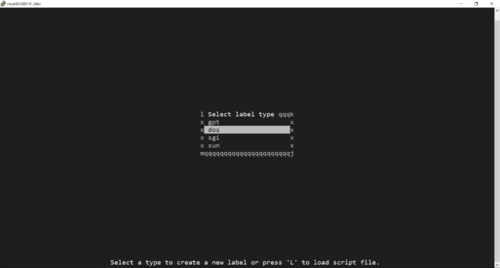
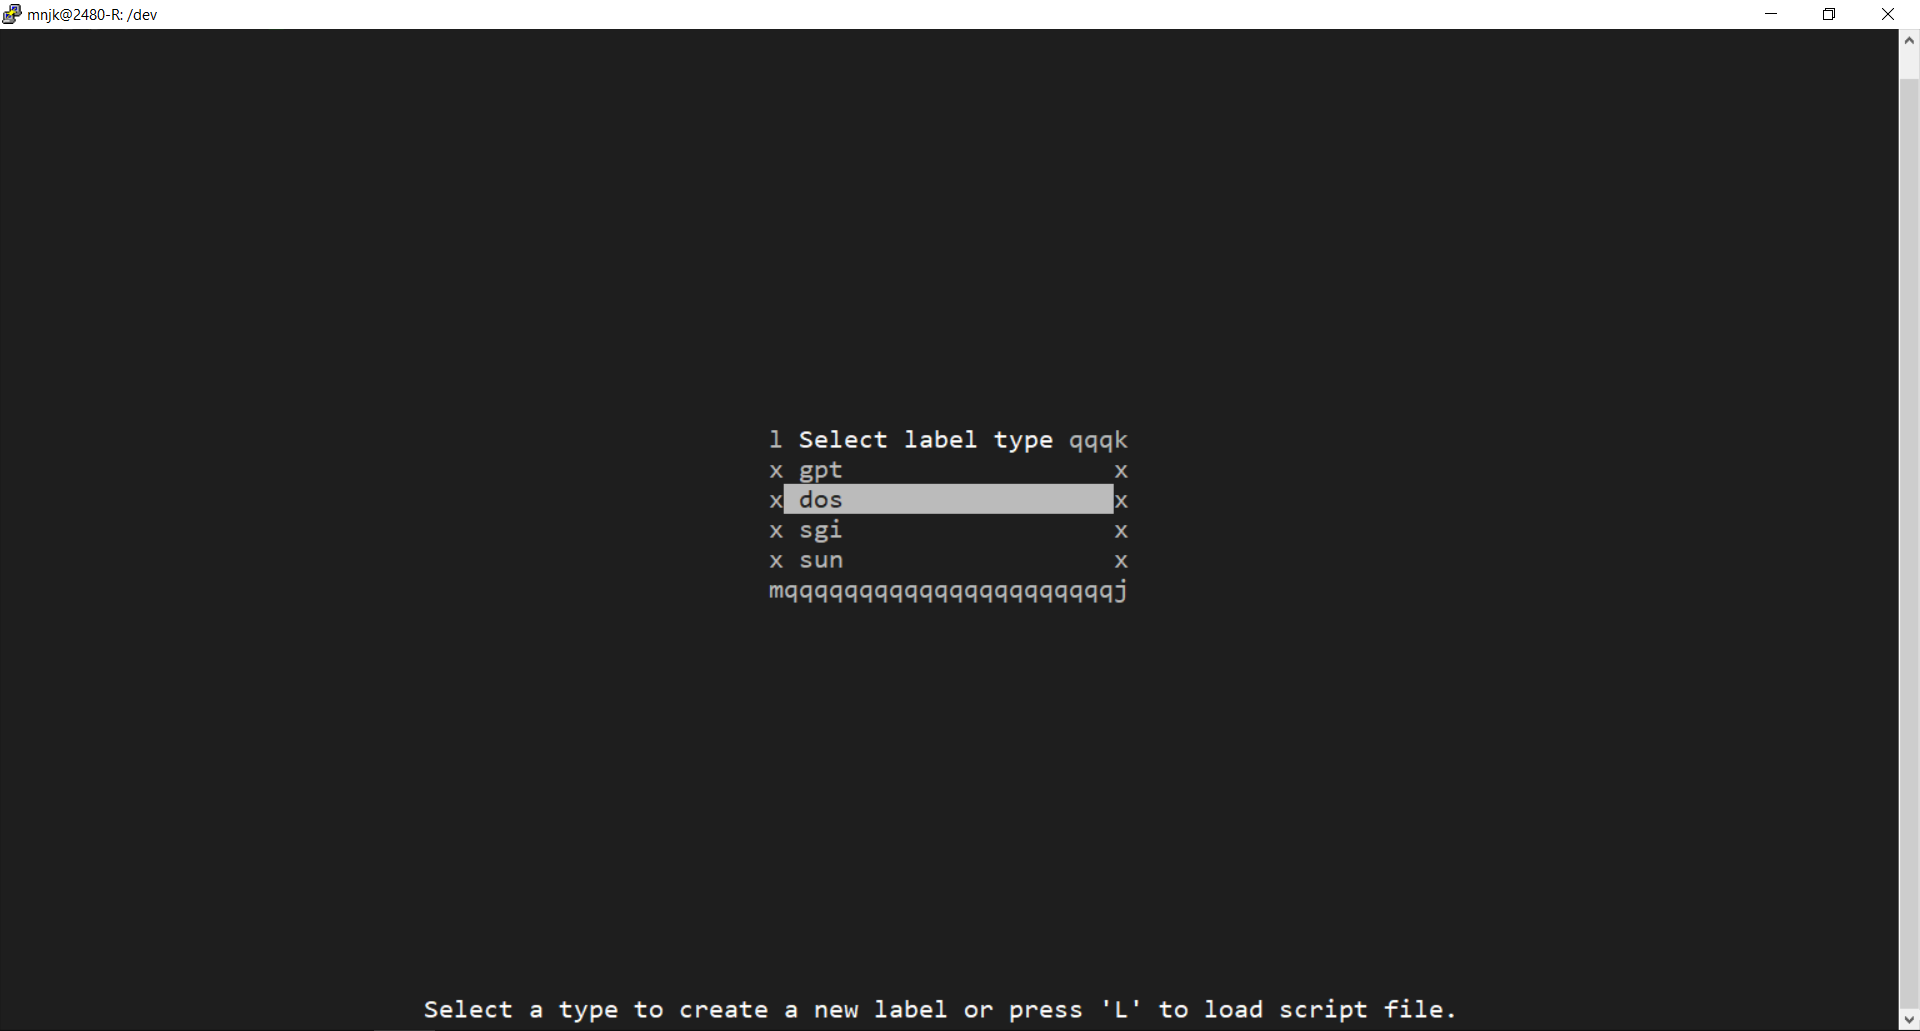
- Because our new drives contain no existing partitions we are asked what type of partition table to create.
- Choose to create a dos (aka MBR) style partition table.
- Although this is an older style partition table it is well supported by many operating systems and BIOSes. The primary benefit of the newer GPT style tables is their ability to work with very large drives.
- Once in cfdisk, Select the New option.
- Set the size close to 5GB.
- It does not need to be exact.
- Now select primary as we are making a primary MBR partition.
- Use the arrow keys to go down to the remaining Free Space on the drive, and press enter to again select New.
- Create another primary partition, and set the size to about 2GB.
- At this point we should have two partitions, one named sdb1 with a size of about 5GB (the program will round down to the closest boundary), and sdb2 which takes up the next 2GB or so of the drive.
- Use the arrow keys to select the Write option, and press enter.
- You will be warned that this will write the table to the disk. enter yes, and press enter again to confirm.
- NOTE: If, on the bottom of the screen, you see "The partition table has been altered", you have successfully written the MBR to the drive.
- Navigate to Quit to exit the program.
- From the command line run the following:
ls -al /dev/sd*. - Notice how you can now see both of the new partitions, sdb1 and sdb2 in the listing. This means the partition device "files" have been created and you are ready to format the partitions with a filesystem.
- The first partition will be formatted as ext4, and the second partition will be formatted as btrfs. Both filesystems (as well as many others) are commonly used on Linux systems. For more information on the differences and similarities between btrfs and ext4, refer to your book or Google.
- To create the ext4 partition, we will use the mkfs.ext4 command.
- As root, run the follwing command
mkfs.ext4 /dev/sdb1. - This will partition the drive as ext4 with no label. If you would like to label the partition, look into the options of mkfs.ext4 using man mkfs.ext4.
- Before formatting the other partition as btrfs we need to install some tools.
- The required tools are part of the btrfs-tools software package so install that package at this time.
- NOTE: If you have issues with installing packages, check your firewall rules you created in a previous lab and ensure your Internet access is working properly from the VM.
- To format the second partition as a btrfs filesystem partition we will run the following:
mkfs.btrfs /dev/sdb2- Just like before, we need to tell the mkfs.btrfs package what partition to format by including that on the command line.
- There are many other options that can be set for specific filesystems during the formatting process. For example, many newer large drives use 4096 byte "Advanced Format" sectors instead of the traditional 512 byte hard drive sectors. Using these disks most efficiently requires adjusting the sector size during the format process to match the physical sector size on the disk. Other features and filesystems include the ability to take snapshots of the drive for backups. The full details of all the options, settings, and filesystems available in Linux is beyond the scope of this course. Suffice it to say that Linux systems with a need for high speed I/O from disks or other specialized features are finely tuned.
- As a Linux system administrator at a minimum you should be familiar with the basic formatting of drives in the most common ext3, ext4, btrfs, and fat (32) filesystems. Even though the FAT filesystem is not native to Linux (it doesn't have important features like user and group ownership) it is important as it is a cross platform filesystem commonly used to share files on thumb drives, external hard drives, or dual boot systems with MacOS or Windows users.
- Once your two partitions are formatted they need to be mounted to the filesystem structure so that we can begin using them for file storage.
Mounting Partitions
Video Tutorial - Mounting Partitions
There are two main ways to mount disks in Linux. One is done manually, and the other is to setup mounting at boot. Manual mounting is typically done for either temporary access to drives such as CD/DVDs, thumb drives, external hard drives, or to access a newly created partition before rebooting the system. Automatic mounting is done during the boot process so that you have immediate access to he drive once the system is booted.
To start, we will learn how to manually mount a partition.
- Change into the /mnt directory and then create a new directory named part1.
- This will become the location where we will mount our /dev/sdb1 partition and be able to save files to it.
- Enter the part1 directory and create a new empty file (remember the touch command?) named unmounted.
- Because we have not yet mounted /dev/sdb1 this file will be stored on our existing partition (/dev/sda1).
- Go back to the /mnt parent directory.
- Run the following as root:
mount /dev/sdb1 /mnt/part1 - This command will mount, or attach, /dev/sdb1 to the filesystem location /mnt/part1 and everything stored in that "directory" from this point on will actually be saved onto the first partition of the second SATA drive.
- Go back into the part1 directory and try listing the files.
- Notice how the unmounted file you made appears to no longer exist. This is because the part1 "directory is now being used as the mount point for the first partition on sdb and we haven't yet saved any files onto sdb1.
- You can see a list of all storage devices currently mounted on the system by simply running the command mount without any options. Try doing this and verify that the newly mounted partition is showing in the list.
- Change back to the /mnt directory and unmount the partition by running the following command
umount /mnt/part1 - Again list the contents of the part1 directory.
- Notice how the unmounted file is back. The file didn't every really go away but it was not accessible while the other partition was mounted on the part1 directory. When a drive is mounted on a directory, it overlays on top of any files in the directory, but it does not delete or touch the files on the original disk.
- Make a directory named btrfs in /mnt. Once created, using the file editor of your choice, open the /etc/fstab file.
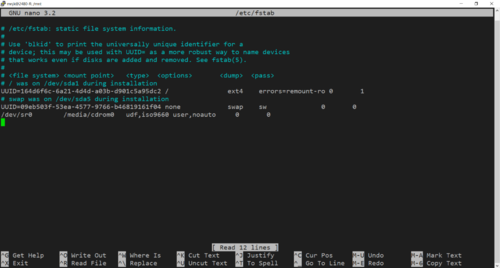
- Click for Larger Image
- The fstab file is used to tell a Linux system what drives and partitions is should mount at boot, as well as any mount options and where to mount the partitions.
- On the bottom of the file, add the following:
- Adding these lines will indicate both partitions should be mounted at boot to the directories we created. To mount the partitions without rebooting or entering individual mount commands, we can just run mount -a which will load and mount all partitions in the fstab file.
- Run the following command now and verify both partitions are mounted:
mount -a
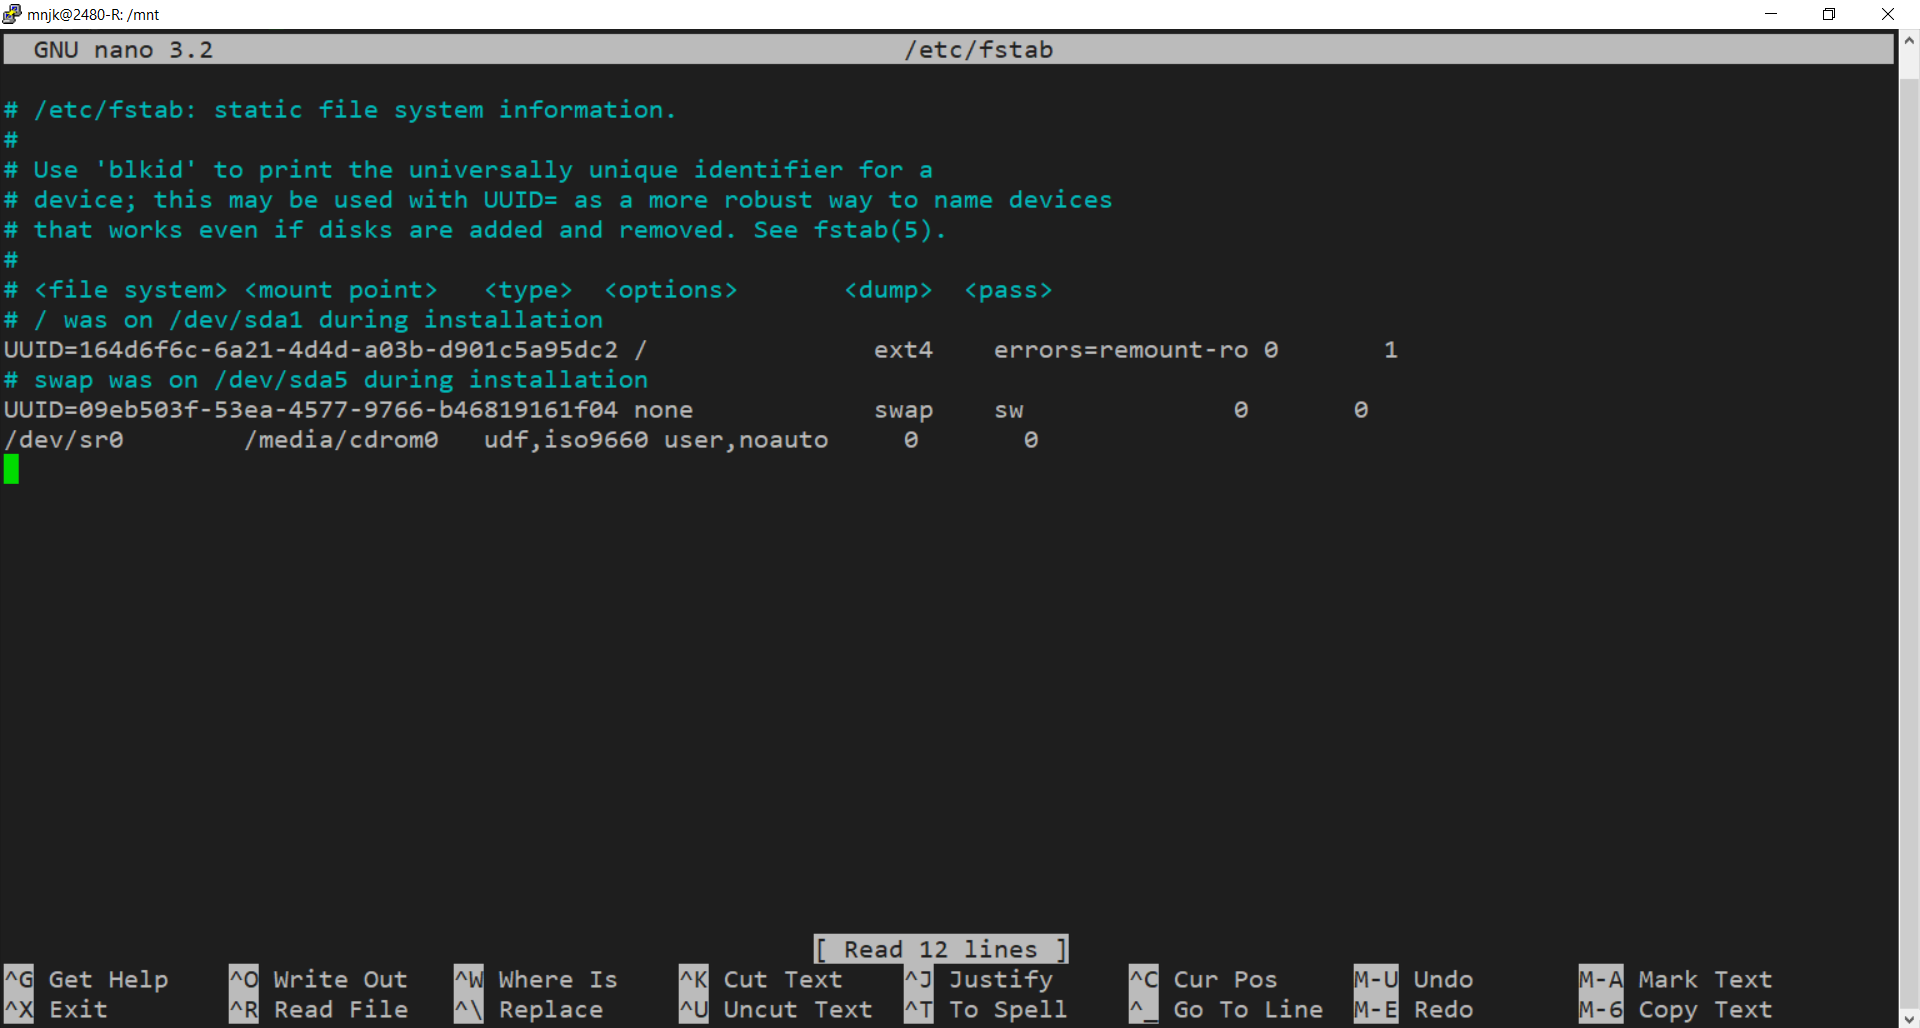
/dev/sdb1       /mnt/part1      ext4    defaults        0       0
/dev/sdb2       /mnt/btrfs      btrfs   defaults        0       0
Disk and File Usage
Video Tutorial - Disk and File Usage
- Another way to verify the partitions which are mounted and to see how much disk space is used on each is to use the df command.
- Run df, you should see something similar to this at the bottom of the output:
- This indicates that the two partitions are mounted properly to the folders we created earlier. df is a powerful command as not only will it show you what is mounted where, but it also shows you how much disk space is used and how much space is left.
- The df command doesn't give the most easily readable disk or usage sizes by default.
- Add the -h option to the command like to change the output to a "human readable" format and see what it looks like.
df -h - Now, cd into /mnt/part1 so you are on the ext4 partition you created. Then as root, run the following command:
cp -r /var/log ./ - cd into the log folder, and run the following:
du -h - du is a command that allows you to view file usage in a tree format. Just like with df the -h flag tells du to output the usage in a "human readable" format, while the -a flag tells it to show you the results for all files, and not just for folders.
- Read the man du page and play around with using the du command across the file system.
- How much data is the /etc/ folder taking up on your Linux system? What directories are the biggest?

Checking your Work
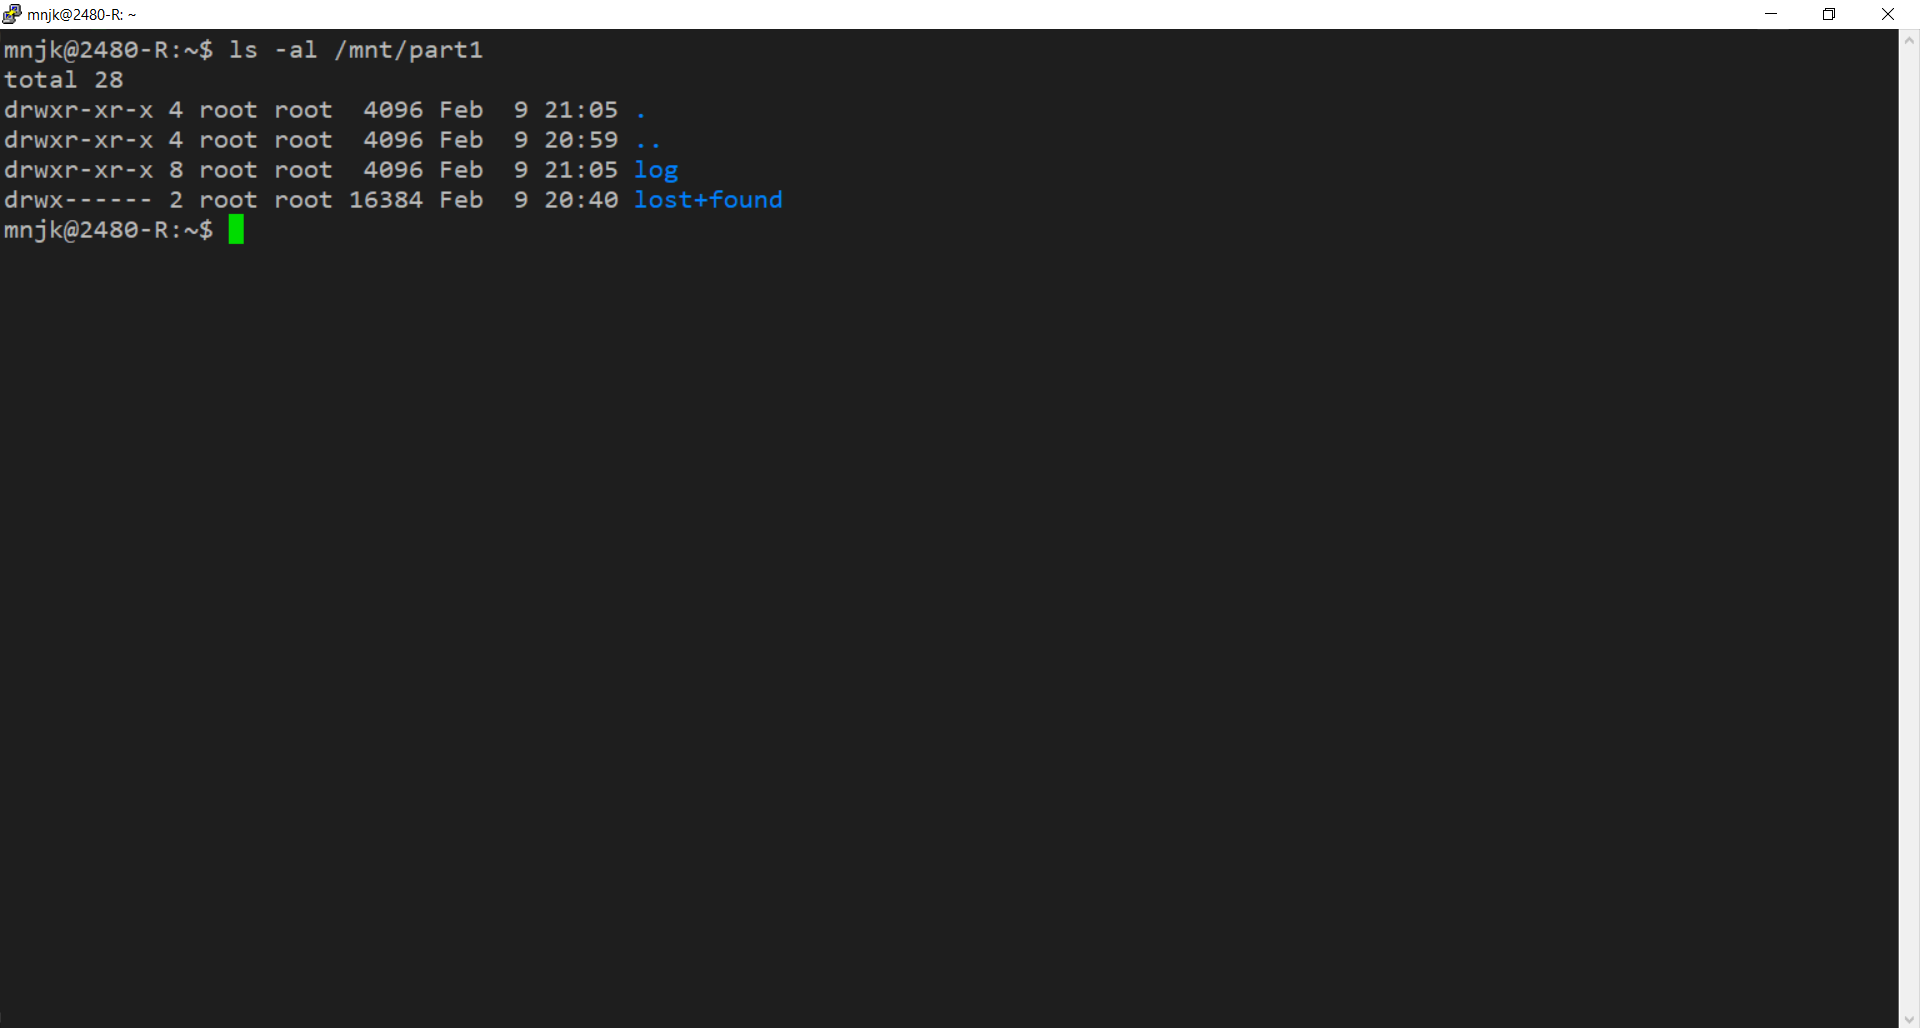
- Run ls -al /mnt/part1, does it look like this?
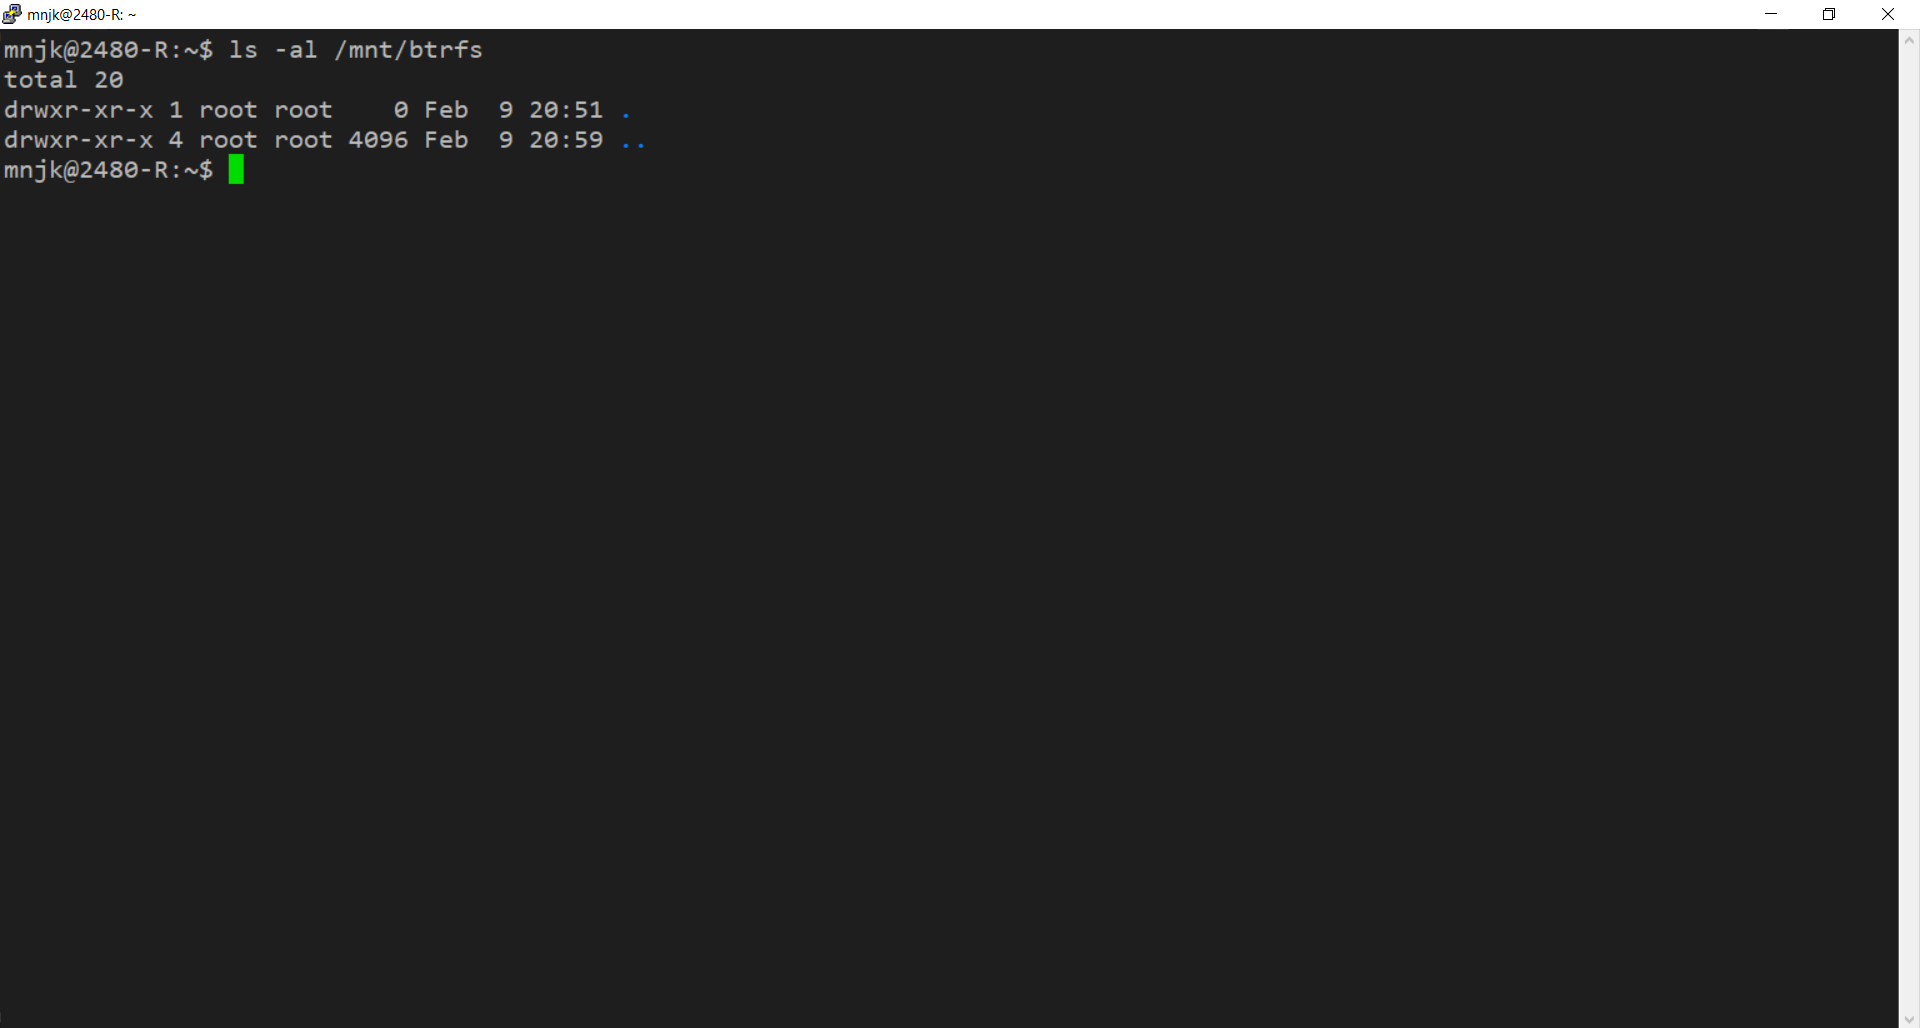
- Run ls -al /mnt/btrfs, does it look like this?
- Run df, does it look like this?
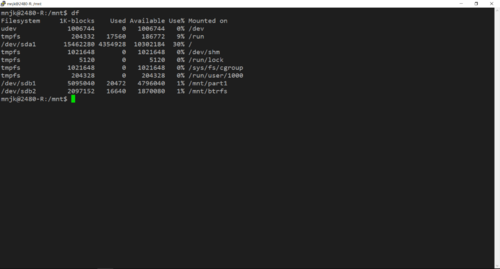
- Click for Larger Image
- If your output matches the screenshots, you have successfully completed the lab!
- Automatically check your results by running this command:
curl https://raw.githubusercontent.com/mnjk-inver/Linux-2480-Rebuild/main/lab_11_test.py | python3
Web App
You can check your progress on any of the labs in the ITC-2480 course from a webapp from this link:
webcheck.itc2480.campus.ihitc.net
You must be logged into the campus VPN to use this application.