Cisco Configuration Professional
Before You Begin
The network must be configured and connected before trying to use CCP.
With that being said you can have the most basic of configurations on the router.
Essentially all you have to do is assign ip addresses to the connecting Fast Ethernet devices.
Each router must have level 15 privilege set to use CCP properly.
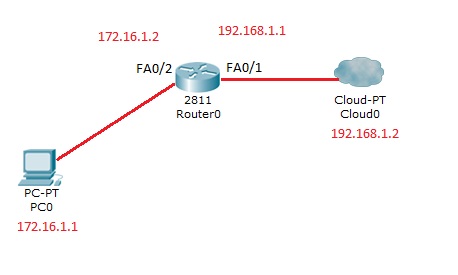
The network topology used for this lab is relatively simple.
There is One host machine with an IP address of 172.16.1.1 connected to a router via straight thru to FA0/2 with an IP of 172.16.1.2.
Then the router is connected to another router via 192.168.1.1 to our simulated WAN with an IP of 192.168.1.2
Configuring a Cisco Router for CCP
Step 1.
Connect to your router using Telnet, SSH, or through the console.
Enter global configuration mode using this command:
Router(config)#enable
Router(config)#
Step 2.
If HTTP and HTTPS are enabled and configured to use nonstandard port numbers, you can skip this step and use the already configured port number.
Router(config)# ip http server
Router(config)# ip http secure-server
Router(config)# ip http authentication local
Step 3.
Create User with Privilege level 15
Router(config)# username <username> privilege 15 password 0 <password>
Step 4.
Configure SSH and Telnet for local login and privilege level 15
Router(config)# line vty 0 4
Router(config-line)# privilege level 15
Router(config-line)# login local
Router(config-line)# transport input telnet
Router(config-line)# transport input telnet ssh
Router(config-line)# exit
Step 5.
Enable local logging for log monitoring function
Router(config)# logging buffered 51200 warning
Installing CCP
Cisco Configuration Professional is installed directly on to a host machine that will be configuring the network. If you want to install software on the router that is similar but not as in depth, there is also Cisco Configuration Express which is installed on the memory of the router.
Step 1.
Go to http://www.cisco.com/en/US/products/ps9422/index.html which is the CCP webpage on Cisco.com
Step 2.
Create or username or login with your cisco username, then select Download Software under support. You will have to add CCP to the cart and confirm the download at least 3 times.
Step 3.
Once you have successfully downloaded the .exe launch and install CCP.
Discovering an Interface
Step 1.
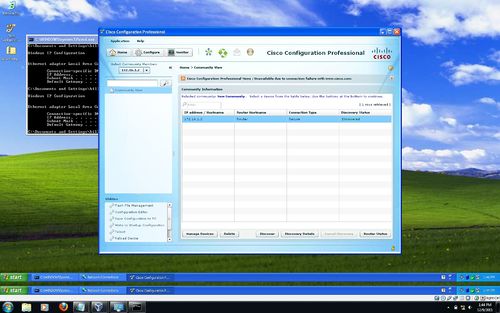
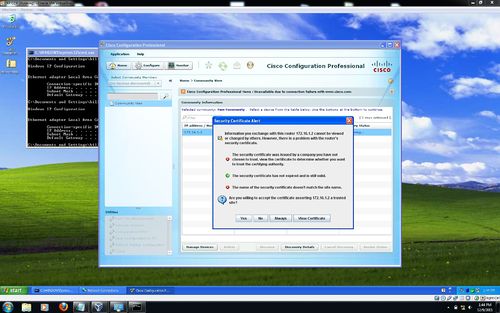
First you must start a new community, and then discover the device. Type in an ip of 172.16.1.2 with your username and password. In this example we will use Loake for the username and class as the password.
Step 2.
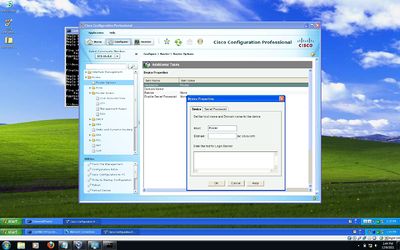
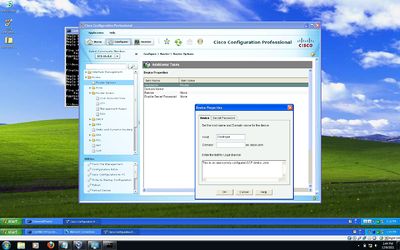
Once the network is discovered click the Configure tab on the top left. Since we didn't set a router named click Router and then select Router Options. Double click the router name and you can configure the name and the banner.
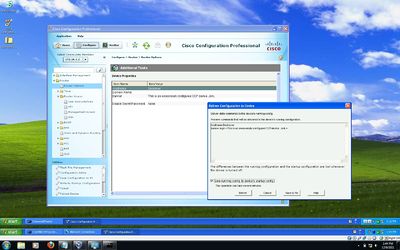
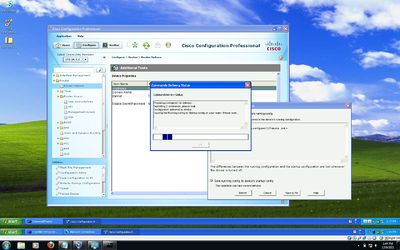
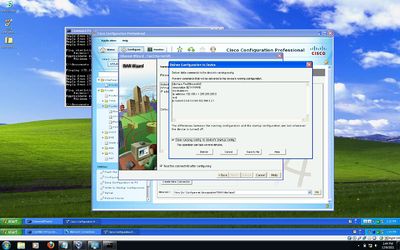
To send these settings to the router you can deliver them. While doing this you can also save the configuration to the startup config.
Interface Configuration
Step 1.
Once CCP is loaded click Home to go to the Homepage.
Step 2.
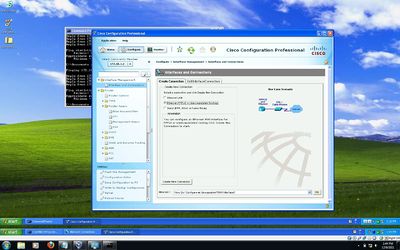
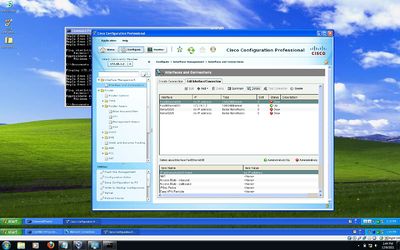
On the pane in the left you want to select Configure, Interface Management, Interfaces and Connections and then select Create Connection. We will be configuring a WAN connection in this scenario.
Step 3.
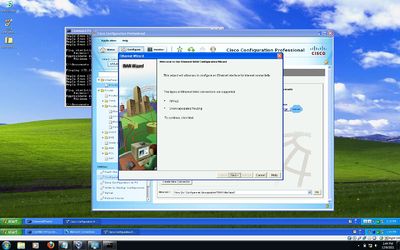
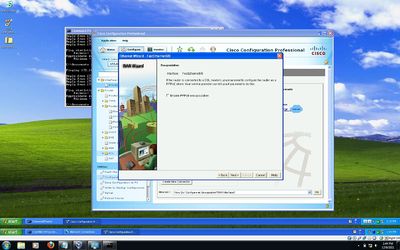
Once inside the Interfaces and Connections dialog select Ethernet(PPPoE or Unencapsulated Routing) and then select Create New Connection.
Step 4.
The Ethernet Wizard pops up, click next on the Welcome screen. On the Encapsulation page select Interface FA0/1 and then hit next.
Step 5.
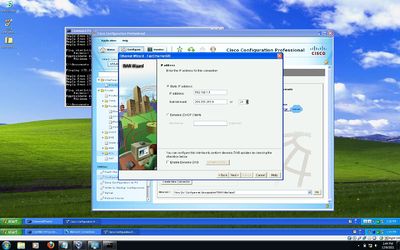
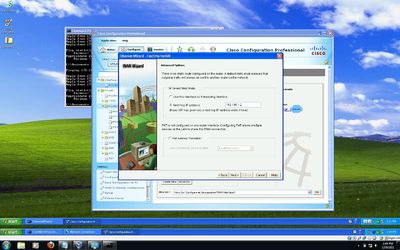
For the IP address assign it an IP of 192.168.1.1 /25 (255.255.255.0) and hit next. For Advanced options we are going to select Default Static Route. Then click Next-Hop IP address and assign the IP of 192.168.1.2 and hit next.
Step 6.
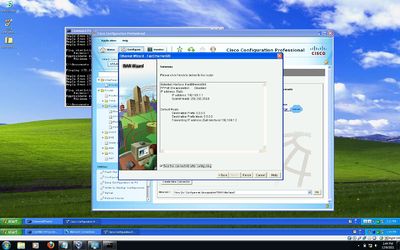
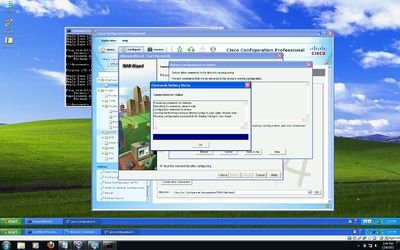
The next window will be the summary showing the changes we have made. Click the Test the Connectivey after configuring check box and select Finish. The Delivery Status window will pop up and ask if you would like to Deliver and save the running config hit yes and close out.
Side Note
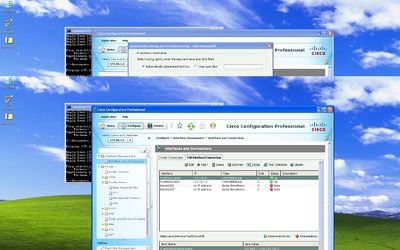
In the Configure pane on the left browse through Interface Management, Interfaces and Connections and then Edit Interfaces/Connections. This will let us add, delete and edit interfaces.
Once in the menu select the interface you want to make changes to. At the top select Edit Interface/Connection. Here you can change the type of IP address, the IP address its self and the subnet mask. You also have an option for a Dynamic DNS Method but we're going to ignore that. Click ok to exit this menu.
When configuring interfaces these settings can be applied to just creating a new connection, you will just have to tweak the settings a little bit and instead of selecting the PPPoE , Unencapsulation select plain ethernet.
You have successfully configured an interface using Cisco Configuration Protocol!
Configuring NAT with Cisco Configuration Protocol
1. Follow the following steps to configure dynamic NAT on a router.
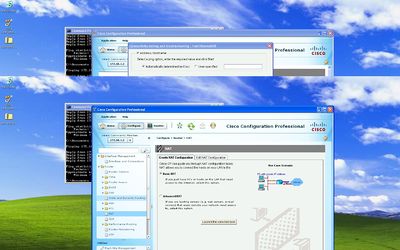
a. Navigate to Configure> Router> NAT > Basic NAT and launch the selected task by clicking on the button on the bottom right corner of the screen. This starts the configuration of
basic NAT.
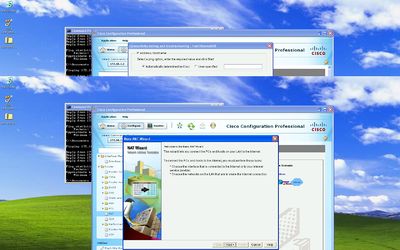
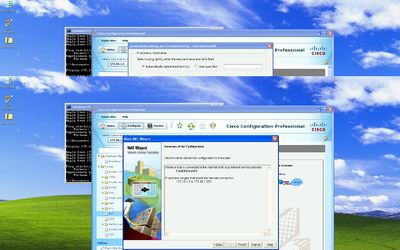
2. Enter Next on the Welcome to the Basic NAT Wizard page.
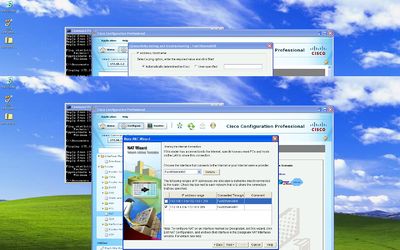
3. Configure the interface that connects to the provided ISP and set the IP address range that
needs to access the internet. Once completing this hit Next.
4. On the Summary of the Configuration page click Finish to complete the review.
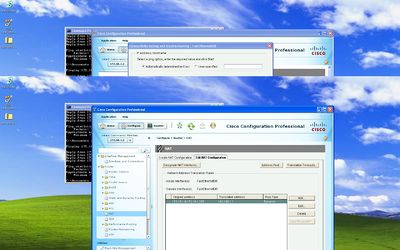
5. Next navigate to the Edit NAT Configuration tab to review the configured dynamic NAT configurations and the translated IP addresses using PATing. In order to configure dynamic
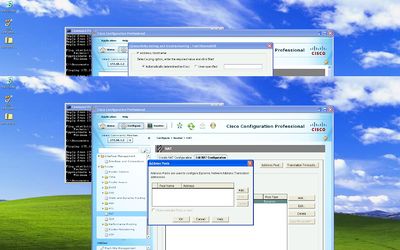
NATing with an address pool, click the Address Pool button.
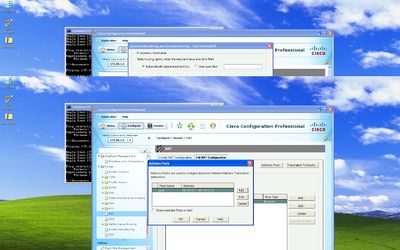
a. In the Address Pools window click Add.
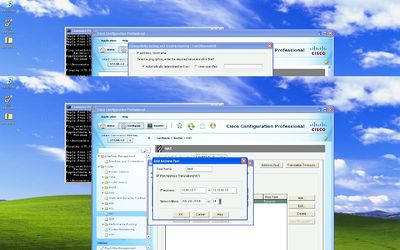
b. This is where you view information like the pool name and IP range with natmasks. Also in order to configure PATing over NAT click the Port Address Translation checkbox and
then click Ok.
c. Click Add to add the address pool into the configuration.
6. Once you finish adding the pool edit the pool you just configured.
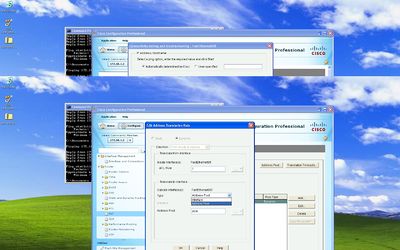
a. In the Edit Address Translation Rule window configure the Translate to interface to
address pool under type and name the address pool under that and enter Ok.
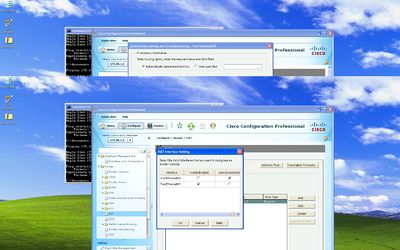
7. You are then brought back to the Edit NAT Configuration tab to designate the interfaces. Click Designate NAT Interfaces button to set the NAT interface settings.
a. Here you can assign the interfaces to be inside (trusted) or outside (untrusted). Once
they are assigned the interfaces will be used in all NAT translation rules.1. Follow the following steps to configure dynamic NAT on a router.
a. Navigate to Configure> Router> NAT > Basic NAT and launch the selected task by clicking on the button on the bottom right corner of the screen. This starts the configuration of basic NAT.
2. Enter Next on the Welcome to the Basic NAT Wizard page.
3. Configure the interface that connects to the provided ISP and set the IP address range that needs to access the internet. Once completing this hit Next.
4. On the Summary of the Configuration page click Finish to complete the review.
5. Next navigate to the Edit NAT Configuration tab to review the configured dynamic NAT configurations and the translated IP addresses using PATing. In order to configure dynamic NATing with an address pool, click the Address Pool button.
a. In the Address Pools window click Add.
b. This is where you view information like the pool name and IP range with natmasks. Also in order to configure PATing over NAT click the Port Address Translation checkbox and then click Ok.
c. Click Add to add the address pool into the configuration.
6. Once you finish adding the pool edit the pool you just configured.
a. In the Edit Address Translation Rule window configure the Translate to interface to address pool under type and name the address pool under that and enter Ok.
7. You are then brought back to the Edit NAT Configuration tab to designate the interfaces. Click Designate NAT Interfaces button to set the NAT interface settings.
a. Here you can assign the interfaces to be inside (trusted) or outside (untrusted). Once they are assigned the interfaces will be used in all NAT translation rules.
Static NAT Configuration
1. Follow the following steps to configure static NAT on a router.
a. In CCP navigate to Configure > Router > NAT > Edit NAT Configuration and add a rule.
2. In the Add Address Translation Rule window you configure the direction from inside to outside or from outside to inside along with specifying the inside IP address that will be translated.
a. If you choose IP Address you will want the Translate from Address to translate to a IP address that is configured in the IP Address field.
b. You want to select interface if you are trying to translate from the address to use the address assign to an interface on the router.
c. Check Redirect Port if you want to send information for the inside devices in translation
also allowing you to use the same public IP address for many devices.
3. Once you finish configuring the translation rule the Edit NAT Configuration tab allows you to see the static NATing configuration.
Static and Dynamic Routing
In CCP to perform Static routing you go to the configure tab, then router, static and dynamic routing and then click add. When you do that you are prompted to add in the destination network address with its mask and set whether it goes out an interface or a next hop IP address. You then click add and it adds in the static route. It’s very simple.
For dynamic routing you click configure, router, static and dynamic routing, and then click on the RIP and select edit. Then Check the enable RIP and pick which RIP version you want to use and then click add. When you finish with that you set the network address to what you want set and click ok. After that you click the deliver button and everything should be set the way that you want it.
