Wireshark Instructions
Wireshark Instructions This is a walk through to help new students learn how to install and run wireshark for future lab assignments. We will be doing all of this through your Virtual Machine as though you were in the lab during class. If needed the same steps will apply to your home computer with the exception of using a your specific network adaptor.
Downloading & Installing Wireshark
This is a quick overview of how to download and install wireshark on to any windows operating system.
- Step 1
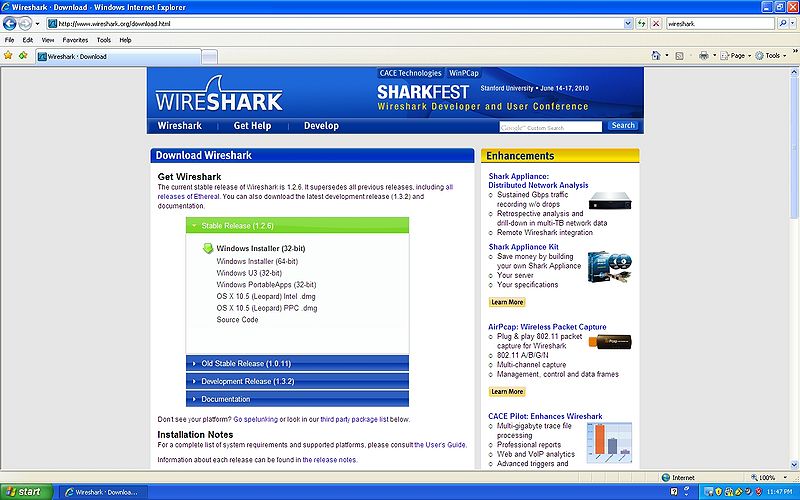
First go to the following link Wireshark Download
- Step 2
Click on the Windows Installer (32-bit)
- Step 3
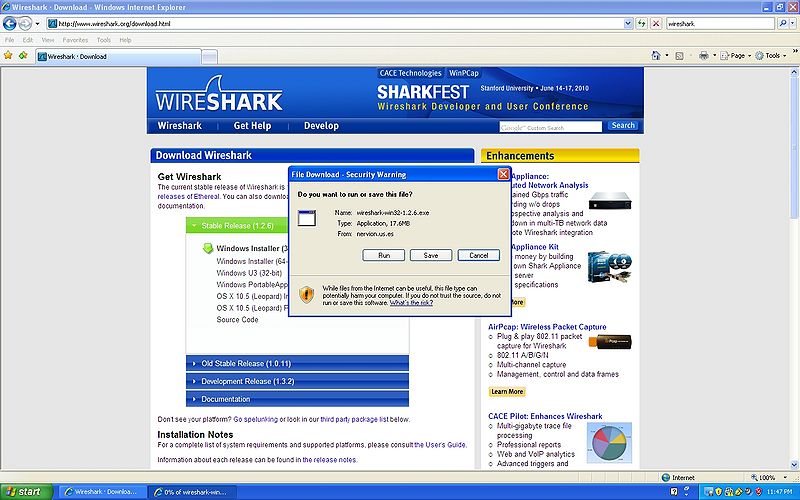
Click the Save button
- Step 4
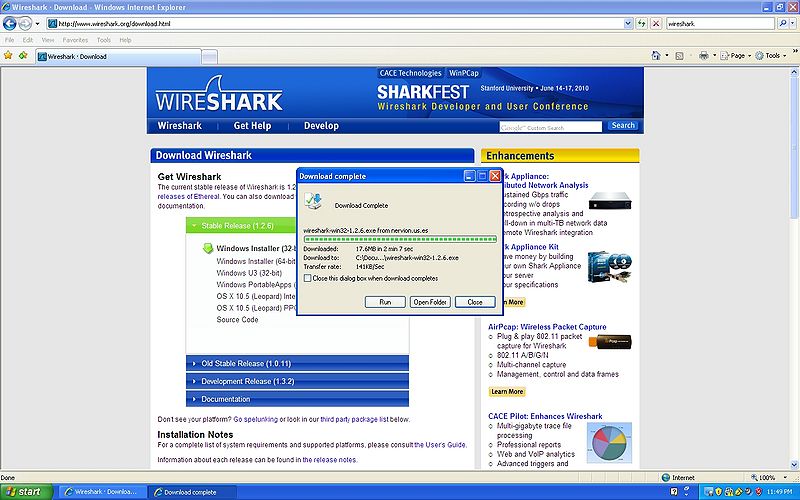
Click the Run button after the file has been downloaded
- Step 5
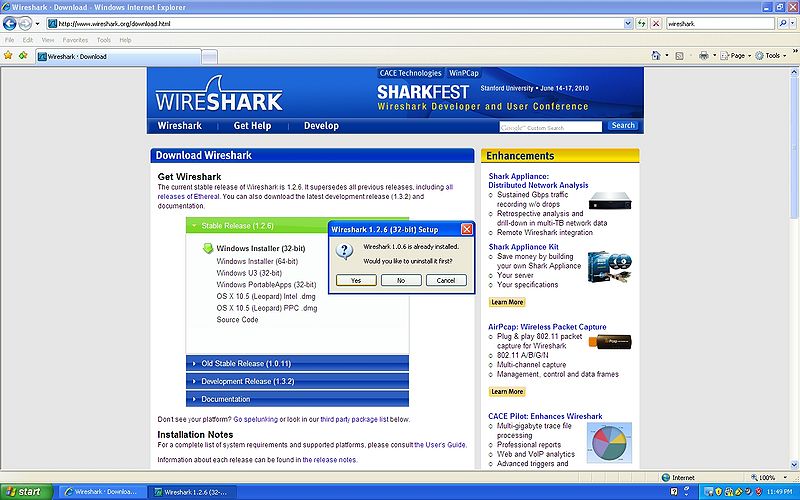
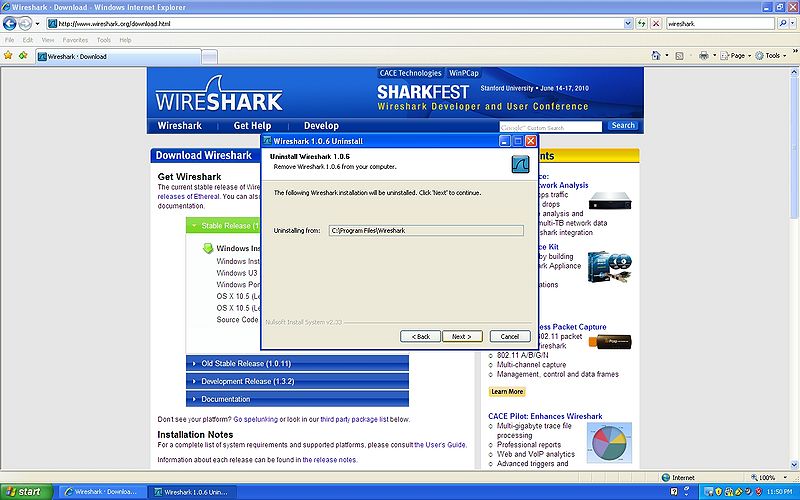
If an older version is installed replace it by clicking the Yes button
- Step 6
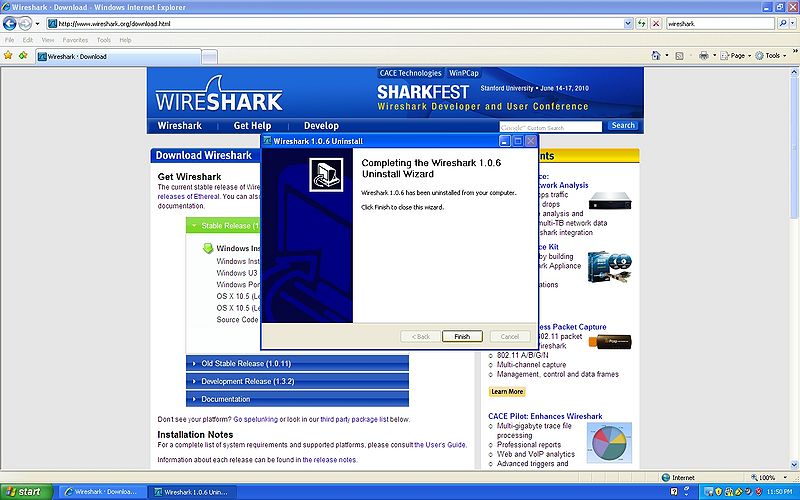
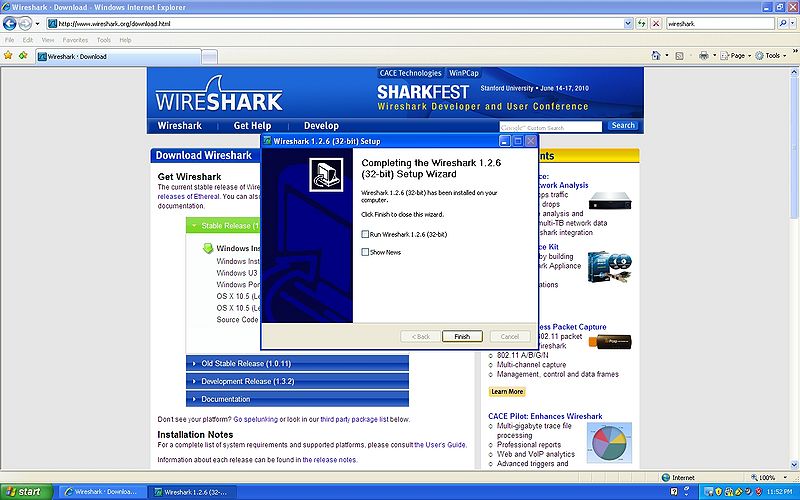
Click the Next button untill you arrive at the Finish button
- Step 7
Click the Finish button
- Step 8
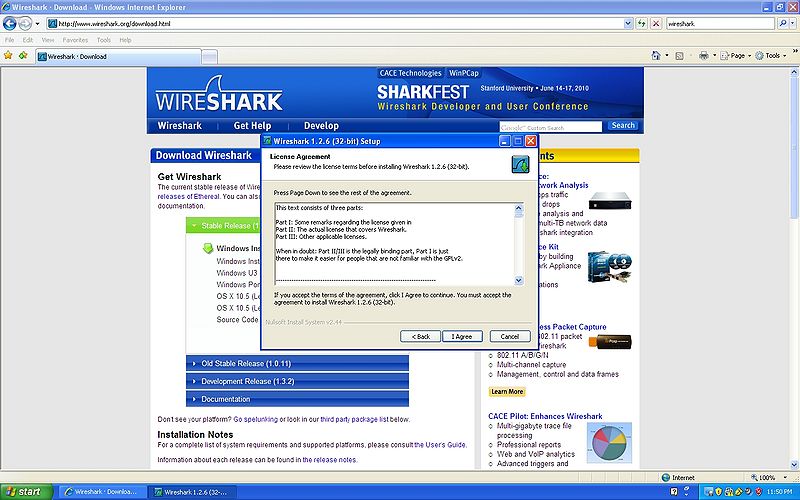
Click the I Agree button to start the install
- Step 9
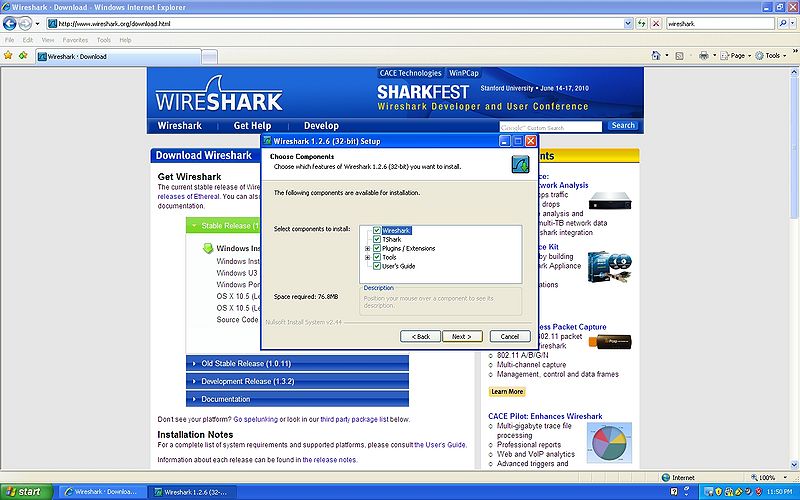
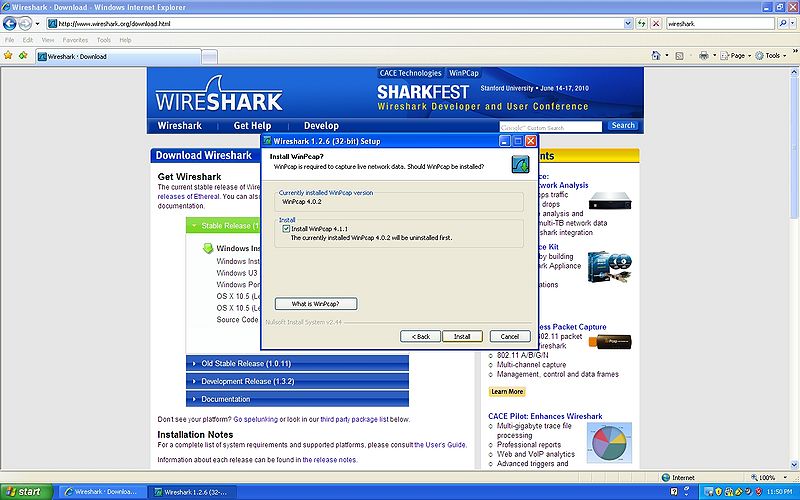
Click the Next button untill you arrive at the Install WinPcap
- Step 10
Click the Install button
- Step 11
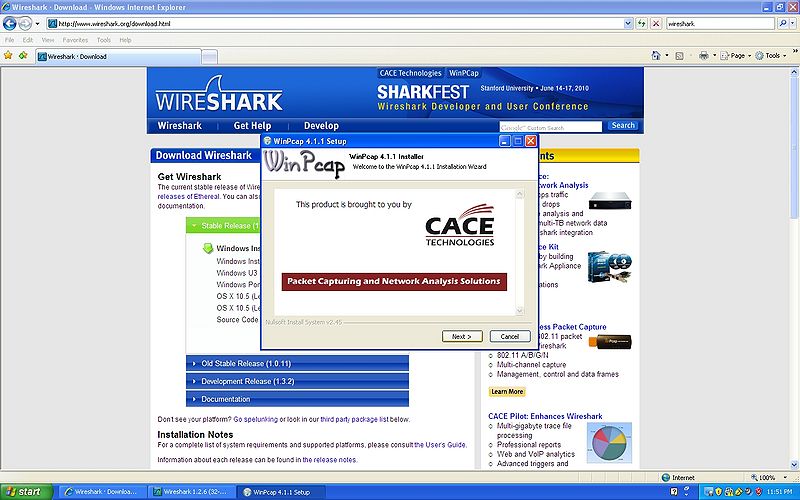
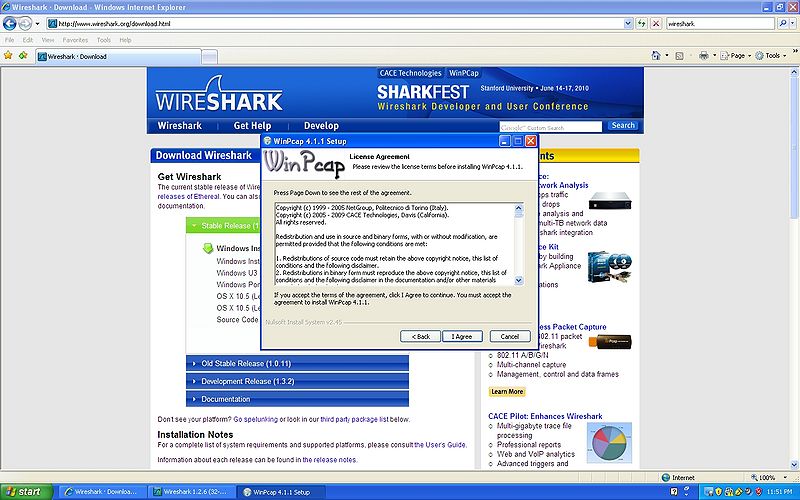
Click the Next button untill you get to WinPcap License Agreement
- Step 12
Click the I Agree button
- Step 13
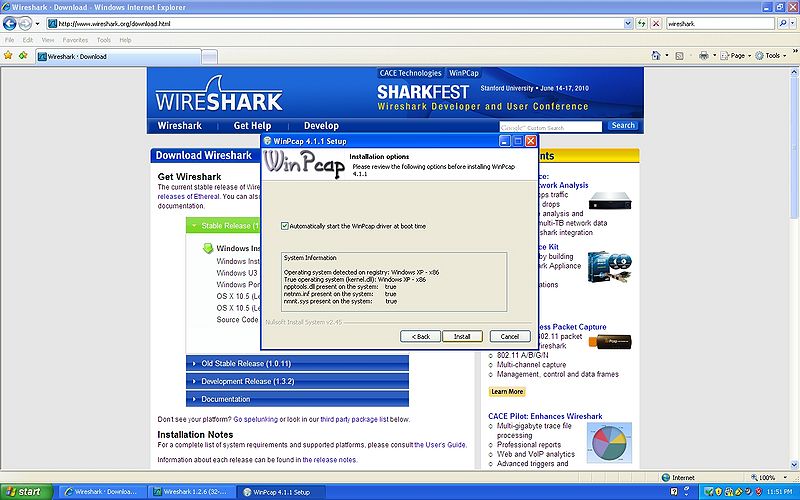
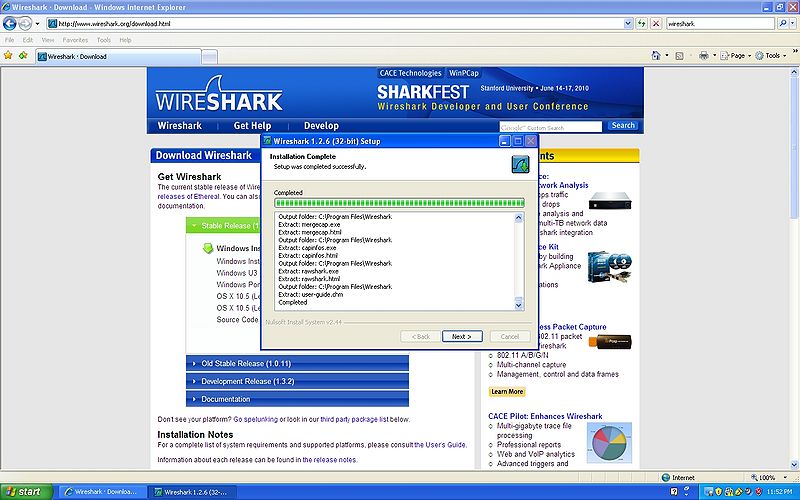
Click the Install button
- Step 14
When installation is complete click the Next button
- Step 15
Click the Finish button
Basic Operation of Wireshark
This will cover opening and running Wireshark in a virtual machine to capture packets.
- Step 1
First open Wireshark by double clicking on the icon.
- Step 2
Click on the Capture Options on the left side of the window.
- Step 3
Click on the drop arrow button on the top right of the window and select the VMware network adapter.
- Step 4
Click on the Start button.
- Step 5
To stop a capture click on the red x button on the top left side on the capture window.
Examining Capture Data
In this section we will be showing you how to capture protocols and where to locate the important values given by the use of wireshark.
- YELLOW: Indicates the MAC Address of both the destination and source.
- GREEN: Indicates the NIC Manufacturer of both the destination and source.
- RED: Indicates the NIC Serial Number of both the destination and source.
- BLUE: Indicates the Frame Type of the packet.
- PINK: Indicates the IPv4 of both the destination and source.
- NOTE: The the preamble and the FCS are not shown on wireshark.
