Openvpn: Difference between revisions
No edit summary |
No edit summary |
||
| Line 31: | Line 31: | ||
the text showing up should look somewhat like this | the text showing up should look somewhat like this | ||
[[File:keyinfo.jpg]] | |||
Revision as of 17:58, 12 May 2010
Steps to setting up a VPN on a Ubuntu server
1. First install the openvpn software with the command.
aptitude install openvpn
all of the files will be located in the:
/etc/openvpn
2. to make things easier you can copy the dir "easy-rsa" from the samples dir to the current dir of "/etc/openvpn".
cp -R /usr/share/doc/openvpn/examples/easy-rsa/ ./
3. after copying the easy-rsa dir switch to easy-rsa/2.0/ where we will build the Certificates of Authority with some scripts provided.
4. edit the vars file and add in information for KEY_COUNTRY, KEY_PROVINCE, KEY_CITY, KEY_ORG, and KEY_EMAIL parameters. save and exit out back to easy-rsa/2.0/.
Nano vars
then after you edit the file use the command source vars
5. now we are going to run some scripts starting with the clean-all
./clean-all
followed up by the
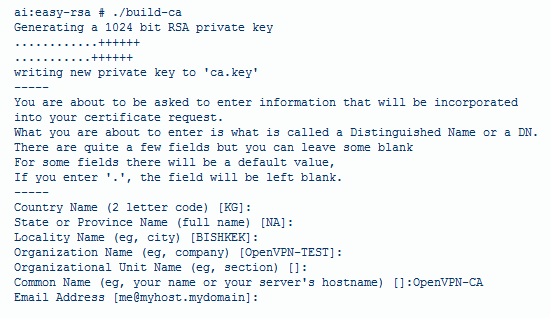
./build-ca
the text showing up should look somewhat like this
