Installing Webmin: Difference between revisions
(→Step 3) |
(→Step 4) |
||
| Line 31: | Line 31: | ||
==Step 4== | ==Step 4== | ||
Now you are ready to use webmin! | Now you are ready to use webmin! | ||
Now all you need to do is check your ip address with the "ifconfig command | Now all you need to do is check your ip address with the "ifconfig" command | ||
[[File:ifconfig.jpg]] | [[File:ifconfig.jpg]] | ||
This shows that my current ip address is 192.168.2.11, you ip will most likely be different. | |||
Revision as of 19:30, 8 May 2010
Webmin is a GUI-based tool for administrating your linux server from a web browser with ease
Step 1
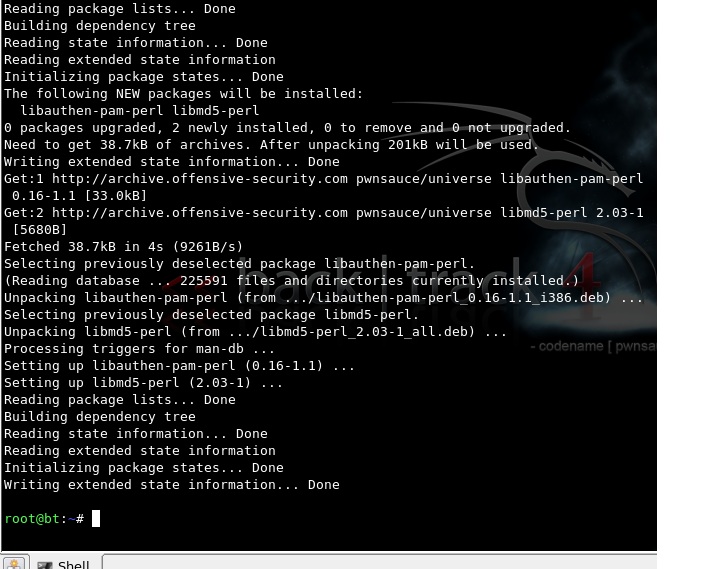
The first thing you'll want to do is download and install the perl packages using the "aptitude install" command
Note: You must have internet connectivity to run the "aptitude install" command and also must run it "sudo" if you aren't logged in as a root account. Example: "sudo aptitude install" then you will be prompted for a root password
After hitting enter to initiate the installs, it should look something like this:
Step 2
After downloading and installing the perl packages crucial for the operation of webmin, you will want install the webmin application itself, by using the "wget command" and the url to the webmin package
The download process should look similar to this:
Step 3
After downloading the webmin package, you will want to install it using the "dpkg" command with a "-i" which installs the package file
Note: The "dpkg" command also must be run with root privileges
Step 4
Now you are ready to use webmin! Now all you need to do is check your ip address with the "ifconfig" command
This shows that my current ip address is 192.168.2.11, you ip will most likely be different.


