Cacti: Difference between revisions
Jump to navigation
Jump to search
No edit summary |
No edit summary |
||
| Line 10: | Line 10: | ||
[[File:icacti2.JPG]] | [[File:icacti2.JPG]] | ||
*Step 3. Go into the Apache2 folder and change the configuration file /etc/apache2/apache.conf with nano or any text editor. At the end of the file add the line: Include /etc/cacti/apache.conf | *Step 3. Go into the Apache2 folder and change the configuration file /etc/apache2/apache.conf with nano or any text editor. At the end of the file add the line: Include /etc/cacti/apache.conf | ||
[[File:apacheconf.JPG]] | |||
*Step 4. In the crontab you will need to create a new task. You can edit this by: nano /etc/crontab . In here you will add a task by putting in this line: * /5 * * * * Root /www/php/bin/php /www/htdocs/cacti/poller.php > /dev/null 2>&1 | |||
[[File:crontab.JPG]] | |||
Revision as of 19:32, 22 February 2010
Cacti
Cacti is graphical representation of network traffic over a device. It can be used to monitor network traffic over individual ports to altogether usage. It can be installed in the windows enviroment or you may install it on a Unix-Linux based OS.
Installation
For this installation we will be installing cacti on a Ubuntu virtual box system.
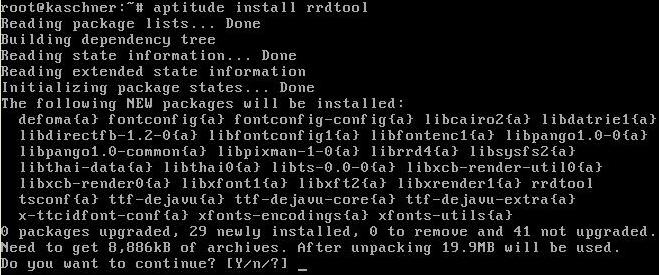
- Step 1. You will need to install three dependicies for cacti you will need RRdTool, Apache2, MySQL with apt-get or aptitude.
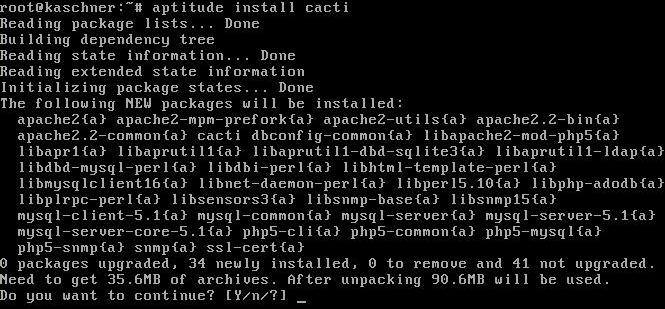
- Step 2. Install Cacti using apt-get or aptitude.
- Step 3. Go into the Apache2 folder and change the configuration file /etc/apache2/apache.conf with nano or any text editor. At the end of the file add the line: Include /etc/cacti/apache.conf
- Step 4. In the crontab you will need to create a new task. You can edit this by: nano /etc/crontab . In here you will add a task by putting in this line: * /5 * * * * Root /www/php/bin/php /www/htdocs/cacti/poller.php > /dev/null 2>&1


